Gifts and Donations
Our platform includes a Gift feature that lets customers purchase content as a gift for someone else, as well as a Donations feature that lets you accept customer donations in either fixed or custom amounts, or both.
To enable these features, please make sure to send us an email at clients@inplayer.com.
With the gift feature, a customer can purchase content for someone else.
The gift comes in the form of a 100% discount voucher that will automatically be sent to the recipient via email. As soon as they receive the email with the voucher, the recipient will be able to go to the content webpage, create their account, and purchase the content using the 100% discount code.
This works for both PPV content, and subscriptions. Note that for subscriptions, the gift will only be for the first subscription period (first month for monthly subscriptions, first year for yearly subscriptions etc.). After the first subscription period expires, the recipient will be charged for the next period, unless, of course, they cancel their subscription beforehand.
Gift purchases need to be enabled in the asset settings.
First, make sure you have created an asset, and have added a price option to that asset.
You can learn about creating assets and adding price options in the asset creation guides here.
Then, in the asset management screen, go to Gift details.
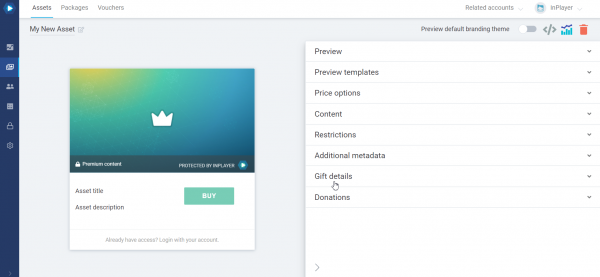
If you don’t see the Gift details section, make sure to send us an email at clients@inplayer.com so we can activate this feature for you.
Tick the Enable gift purchase option.
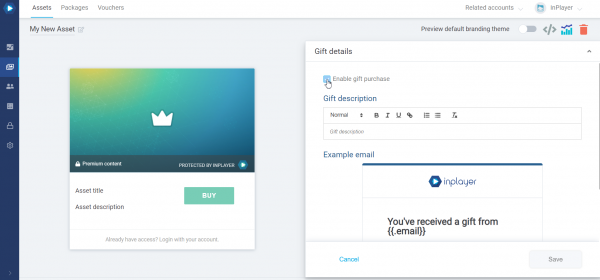
Under Gift description, write the message you want to appear in the email that will be sent to the recipient. This is a required field.
Including short instructions on how and where the gift can be redeemed is a good idea. Here is an example:
You can redeem this gift by going to www.awesomeevents.com. There, click on BUY, proceed to create an account, and complete the payment by using the 100% discount code below. Enjoy the show!
Under Example email, you can see a preview of the email that will be sent to the recipient.
Note that if you have set up custom email templates, the look the email in this preview might not reflect the actual email that will be sent.
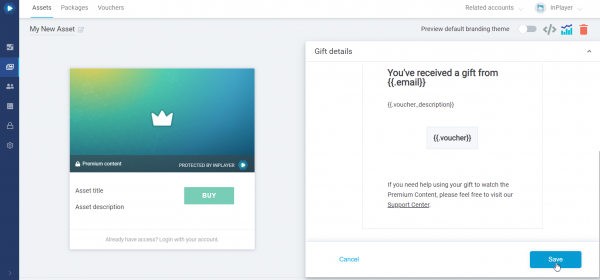
Once you’ve set everything up, click Save.
Purchasing as a gift only
This is the customer experience flow for cases where a customer wants to purchase a gift without also purchasing a pass for themselves.
In these cases, no accesses or subscriptions are activated on the gift purchaser’s account.
They go to your website, click on the content they want to purchase, make an account if they haven’t already, and log in.
They are then taken to the price selection screen, where they can select the pass they wish to buy, and then tick the Buy as a gift option.

On the next screen, they enter the email address to which the gift should be sent.

They then finish the payment like they normally would, by entering their payment details.
As soon as the payment is finalized, an email will be sent to both the gift giver and the gift recipient, with their payment confirmation and their gift code, respectively.
Purchasing for yourself and also as a gift
These are cases where a customer wants to purchase a gift, but also wants to purchase the same pass for themselves.
The customer first purchases a pass for themselves and then purchases the gift.
The customer flow is exactly like a normal purchase. The customer does not select the Buy as a gift option during their purchase.
After paying, on the payment success confirmation screen, the customer will be asked whether they wish to also buy the same content as a gift.
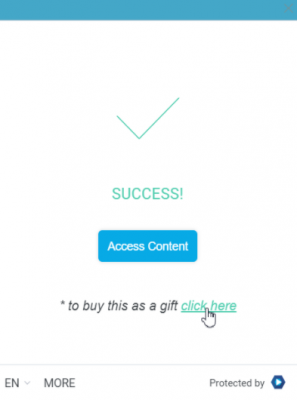
They click the above option and proceed to enter the email to which the gift will be sent, as well as their payment details again.
With our donations feature, you can accept donations from your customers in fixed amounts you have set yourself, or allow customers to donate as much as they want. You can also use both donation types together.
A customer can make a donation only after completing a payment for an asset. After this, the customer will not be able to make another donation on the same asset, until they purchase it again after their access expires.
For Freemium assets, since there is no payment to be made, the customer will be prompted whether they wish to donate each time they log into the asset.
Donations can only be made with a credit card.
Donations need to be enabled in the asset settings, which means they are always tied to an asset.
First, make sure you have created an asset in your InPlayer Dashboard.
You can learn about creating assets in the asset creation guides here.
You can enable donations on all assets of the Registration access type, i.e. Paid, Freemium, and Free access voucher assets.
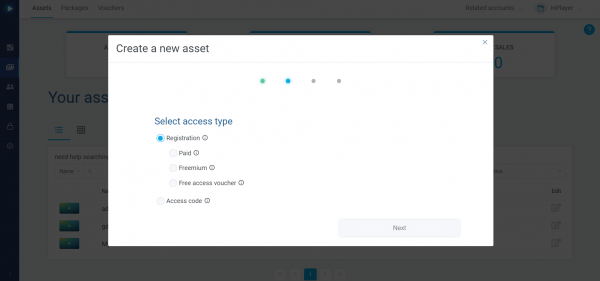
Donations cannot be enabled with the Access code access type assets.
With this option, the customer will be able to donate a pre-determined amount.
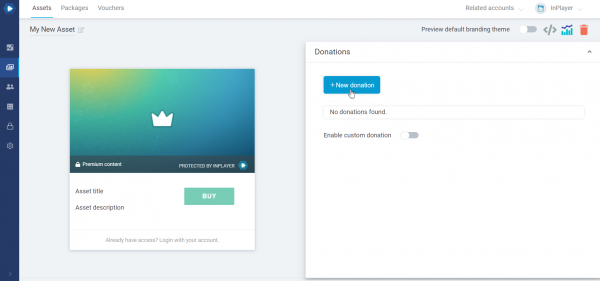
Once you create your asset, open the asset management screen, and click on Donations.
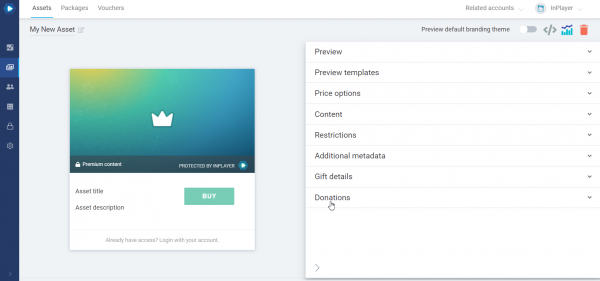
If you don’t see the Donation section, make sure to send us an email at clients@inplayer.com so we can activate this feature for you.
Under Donation description, enter a short description for the donation option. This will appear on the paywall.
Under Donation amount, enter the fixed donation amount, along with the currency.
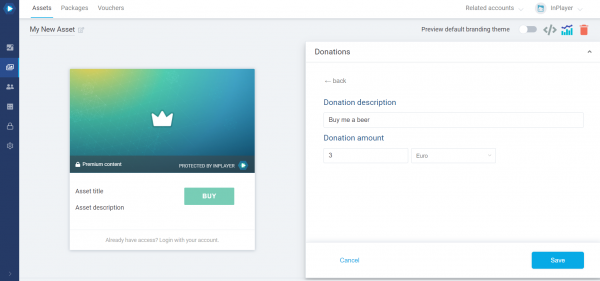
You can add as many donation options as you want.
Finally, click Save.
With this option, the customer will be able to enter their own amount in the donation screen and donate as much as they want.
Once you create your asset, open the asset management screen, and click on Donations.

If you don’t see the Donation section, make sure to send us an email at clients@inplayer.com so we can activate this feature for you.
Click on the Enable custom donation toggle.
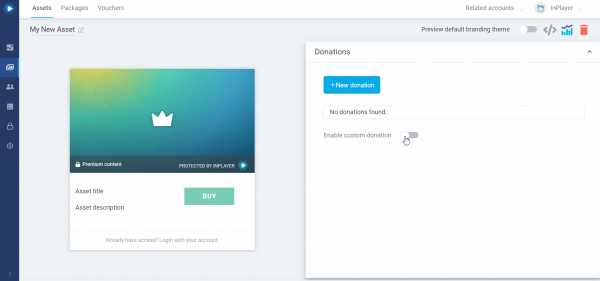
Note that the currency of the custom donations will be the same currency used for the price options for that asset. If there are price options in multiple currencies, a drop-down list will be shown and the customer can select the currency in which they wish to donate.
Note that if you ask us to disable the Donation feature on your account, all the previously active donation options will still be visible and available to customers, but they won’t be editable, until the feature is re-enabled.
A customer can make a donation right after completing their payment for an asset.
They go to your website, click on the content they want to purchase, make an account if they haven’t already, and log in. They choose their price option and complete their payment.
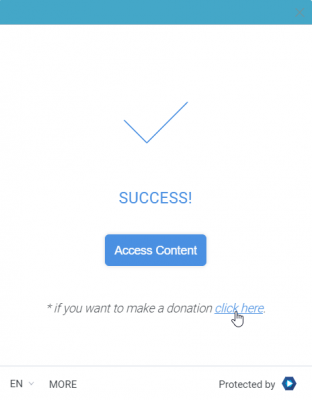
After a successful purchase, the customer will see the following screen, where they can choose to make a donation.
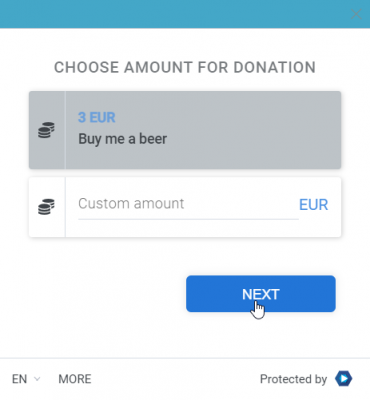
They select the donation they wish to make and click NEXT.
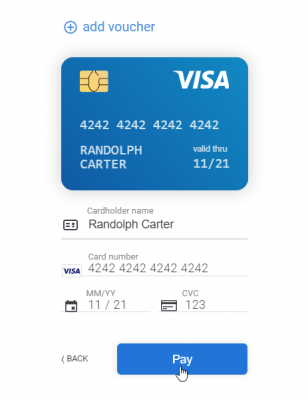
Finally, they enter their card information and click DONATE.
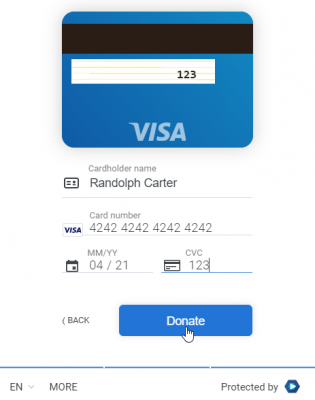
With that, their donation has been made.
If you have any other questions, don’t hesitate to contact us on support@inplayer.com.

