Eventbrite
Docs › Integrations › Eventbrite
Last updated: 09 Nov 2020 / 1:12 PM / GMT
Our monetization platform features a fully developed integration with Eventbrite.
By integrating the two platforms you can inject content from an InPlayer asset into your Eventbrite event and use that as the content that your customers see after they purchase their Eventbrite passes.
First, log into your InPlayer Dashboard.
Go to Settings, then to the Integrations tab, and finally to Third-party integrations.
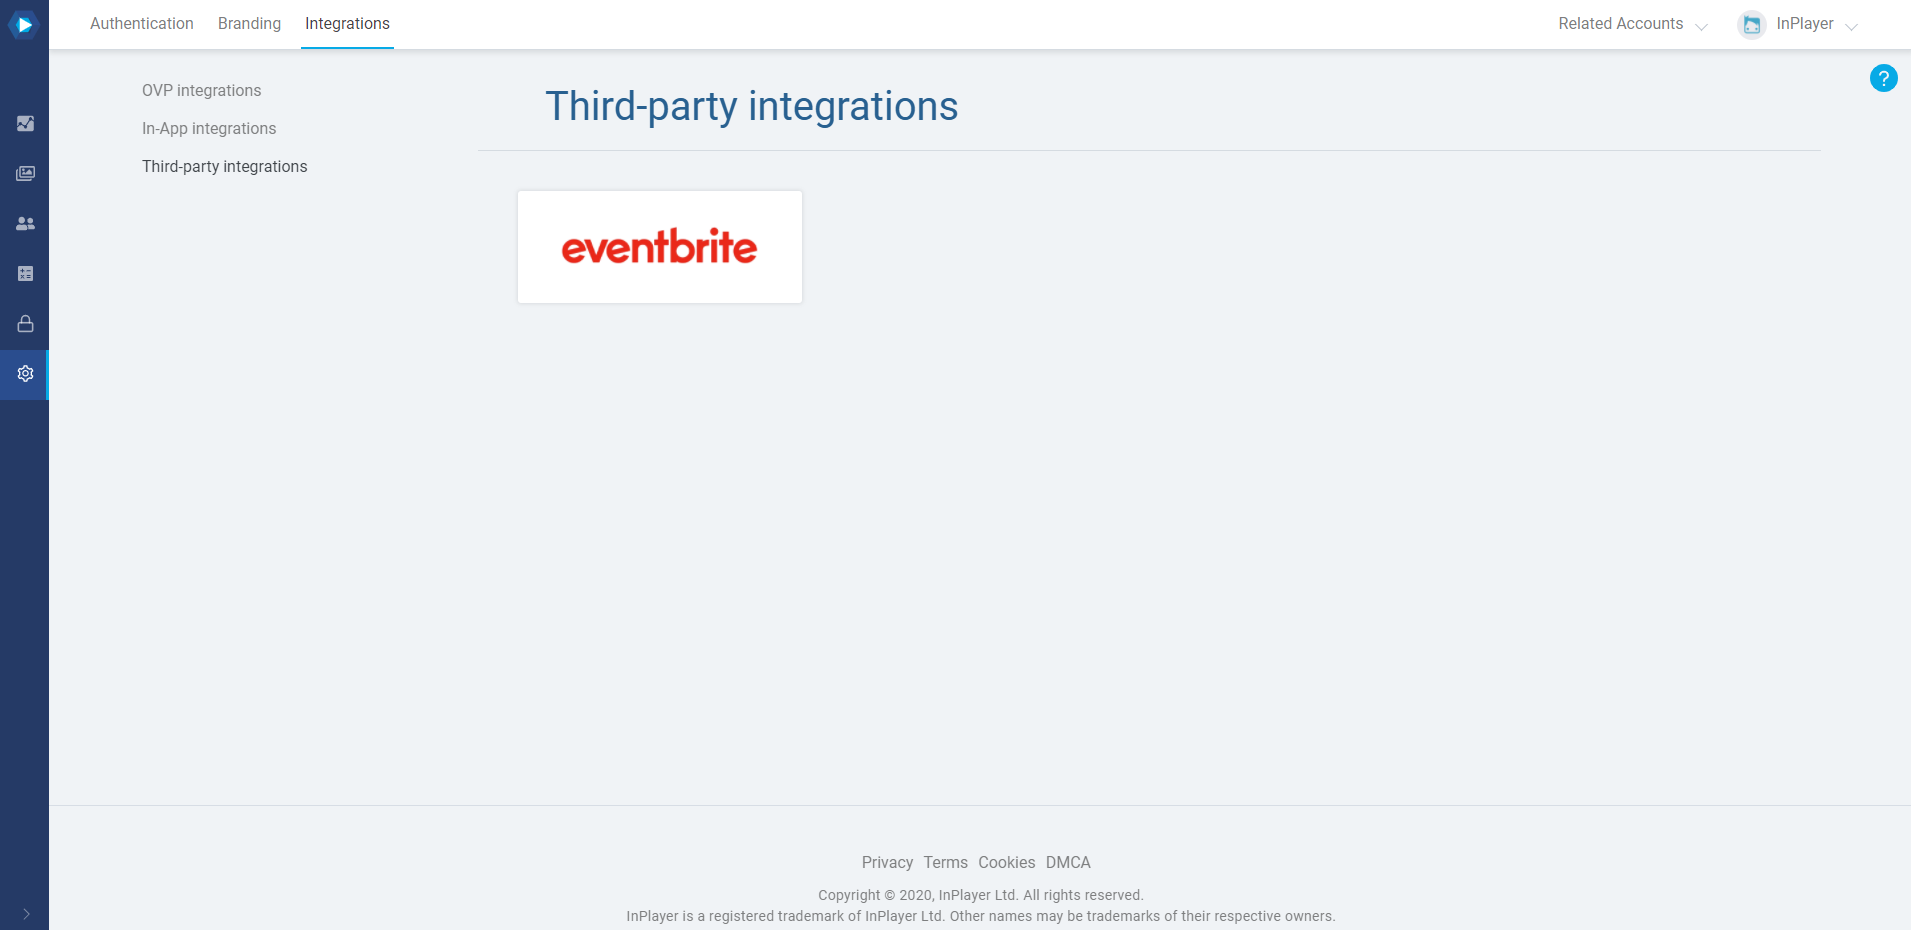
Click on Eventbrite.
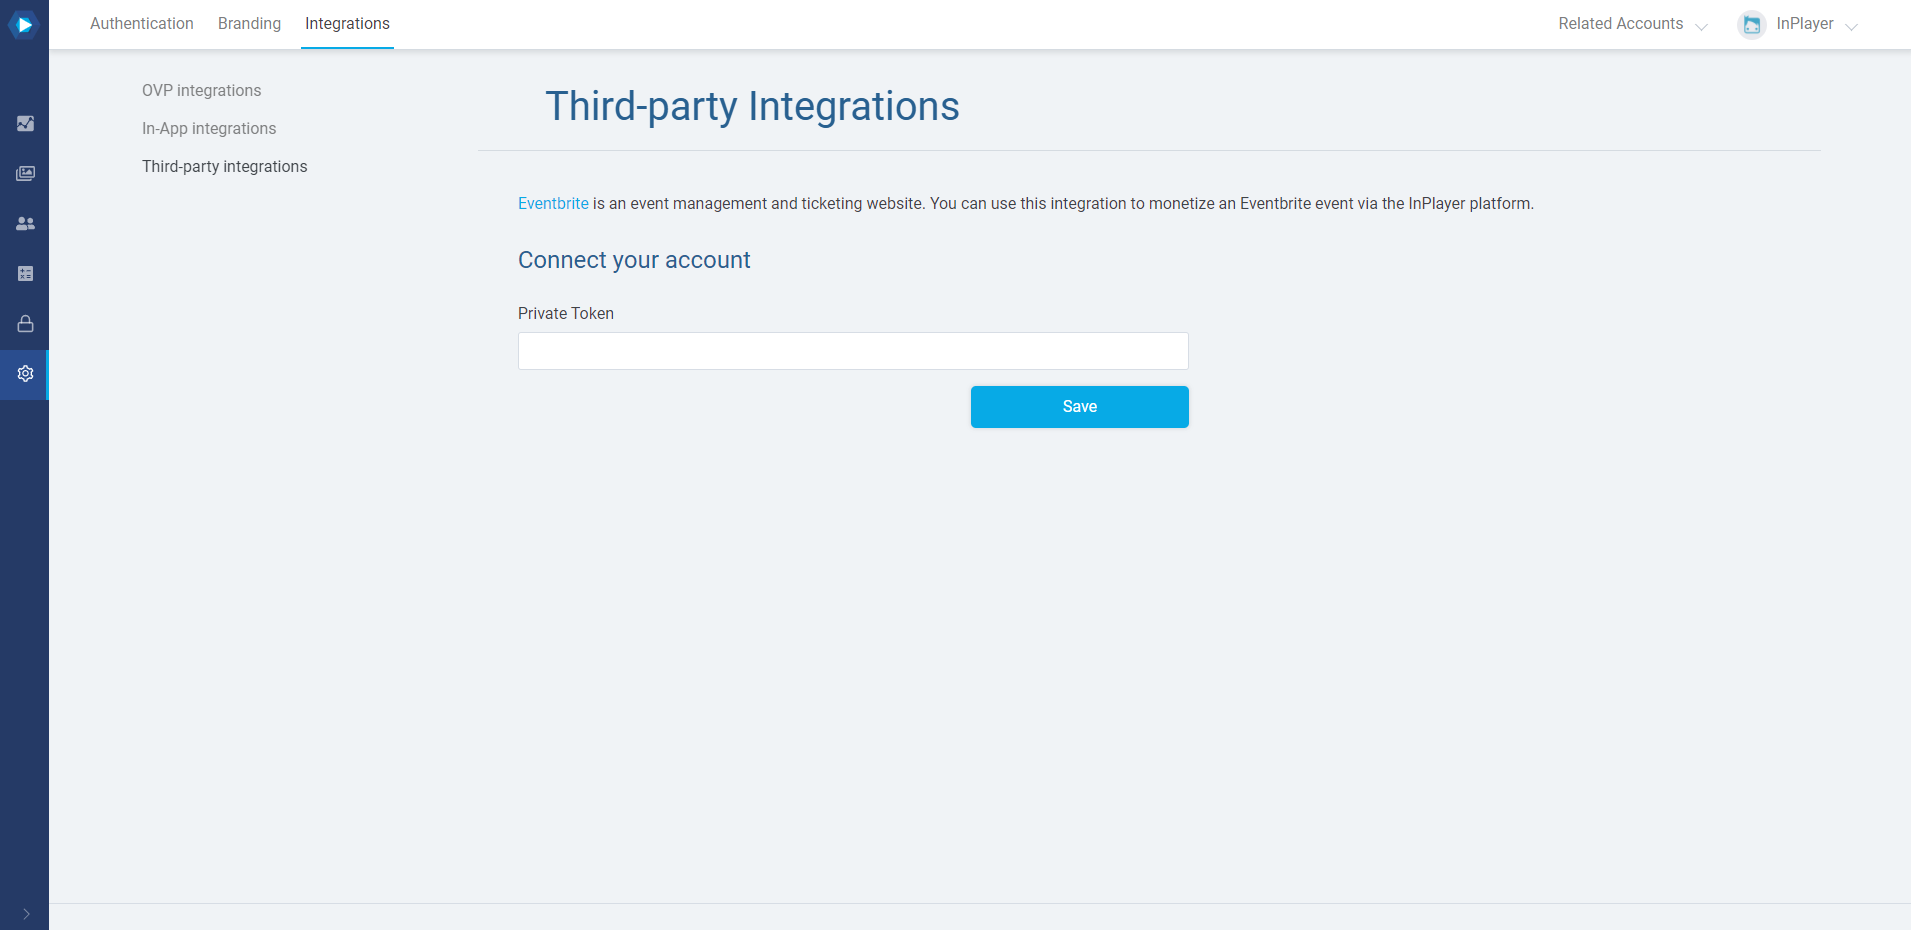
Enter the Private Token from your Eventbrite account, and click Save.
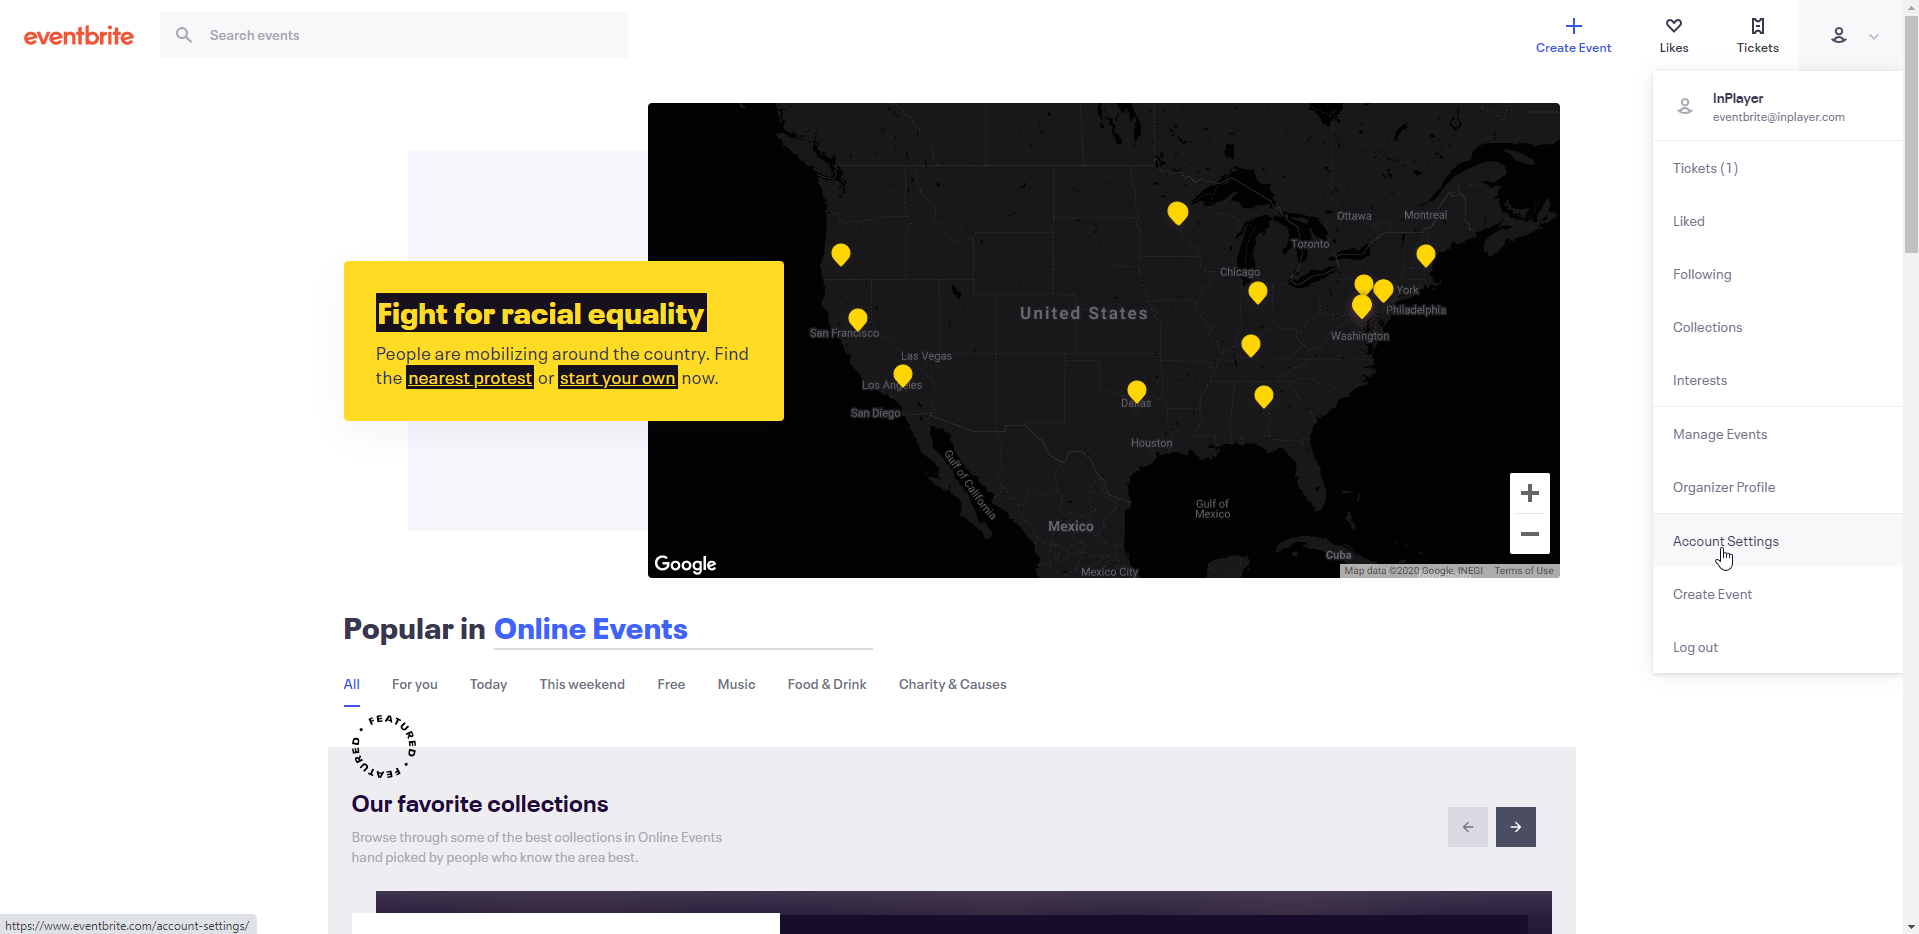
Log into your Eventbrite account.
Click on your account avatar at the top right and go to Account Settings.
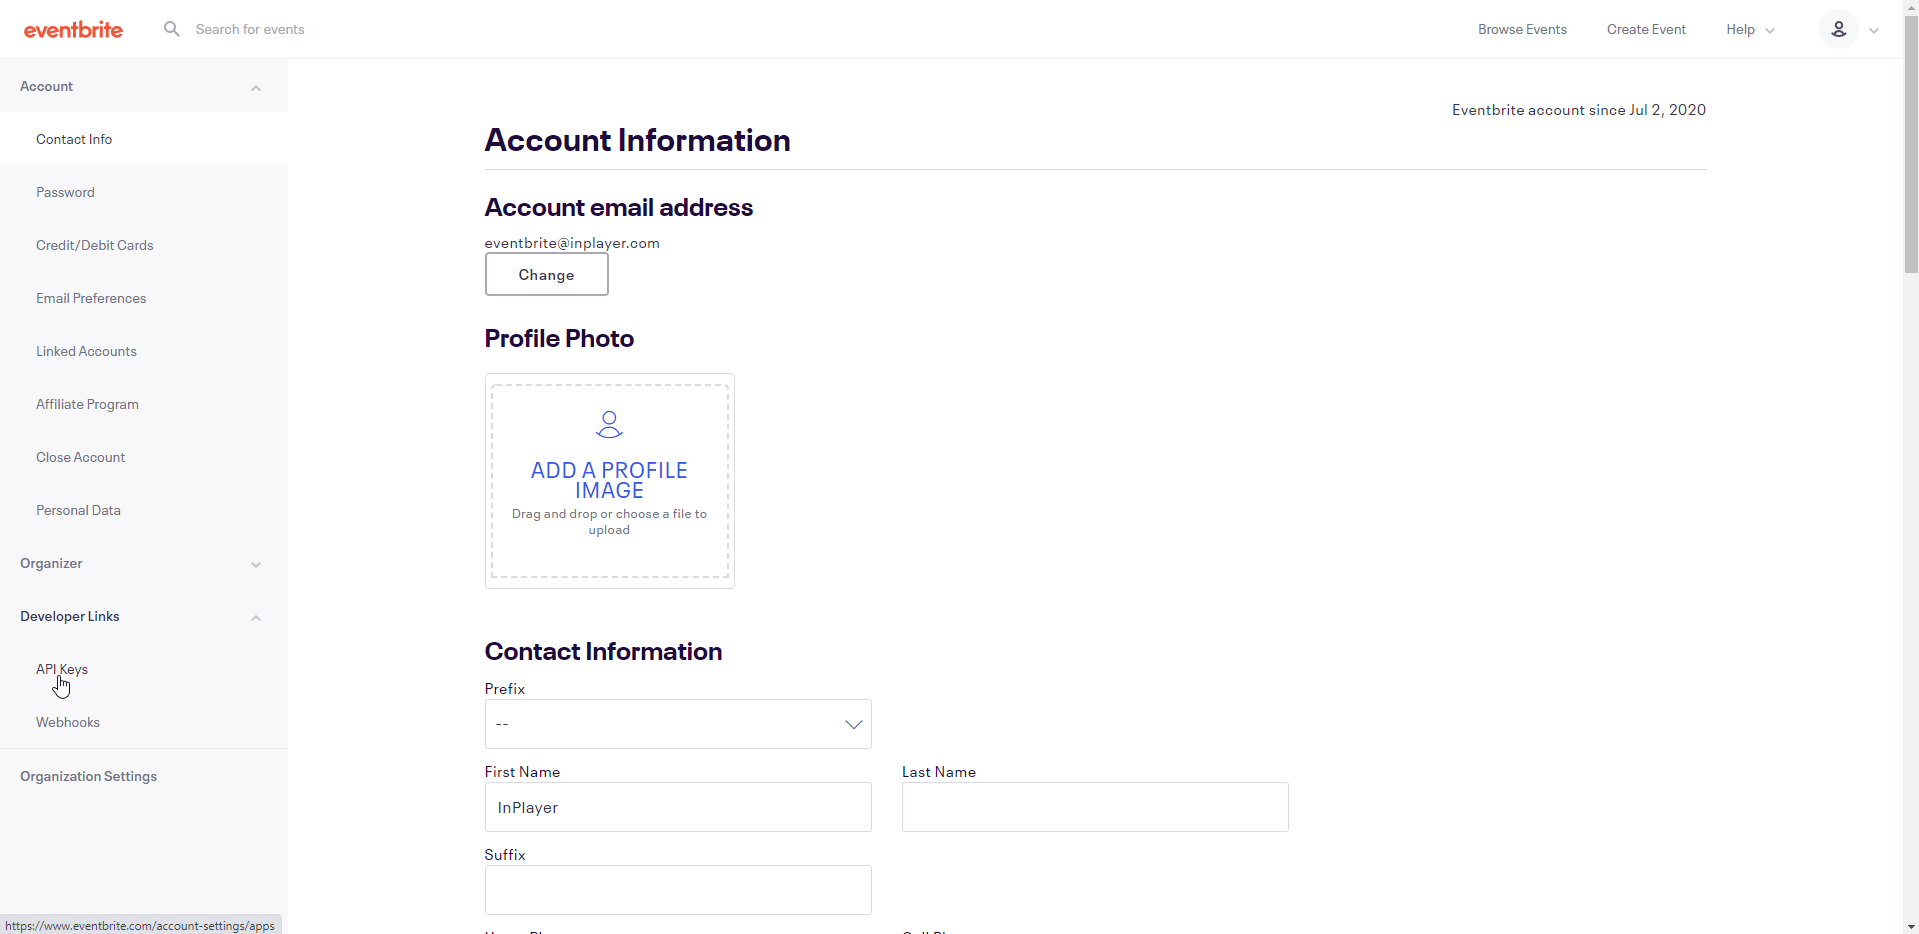
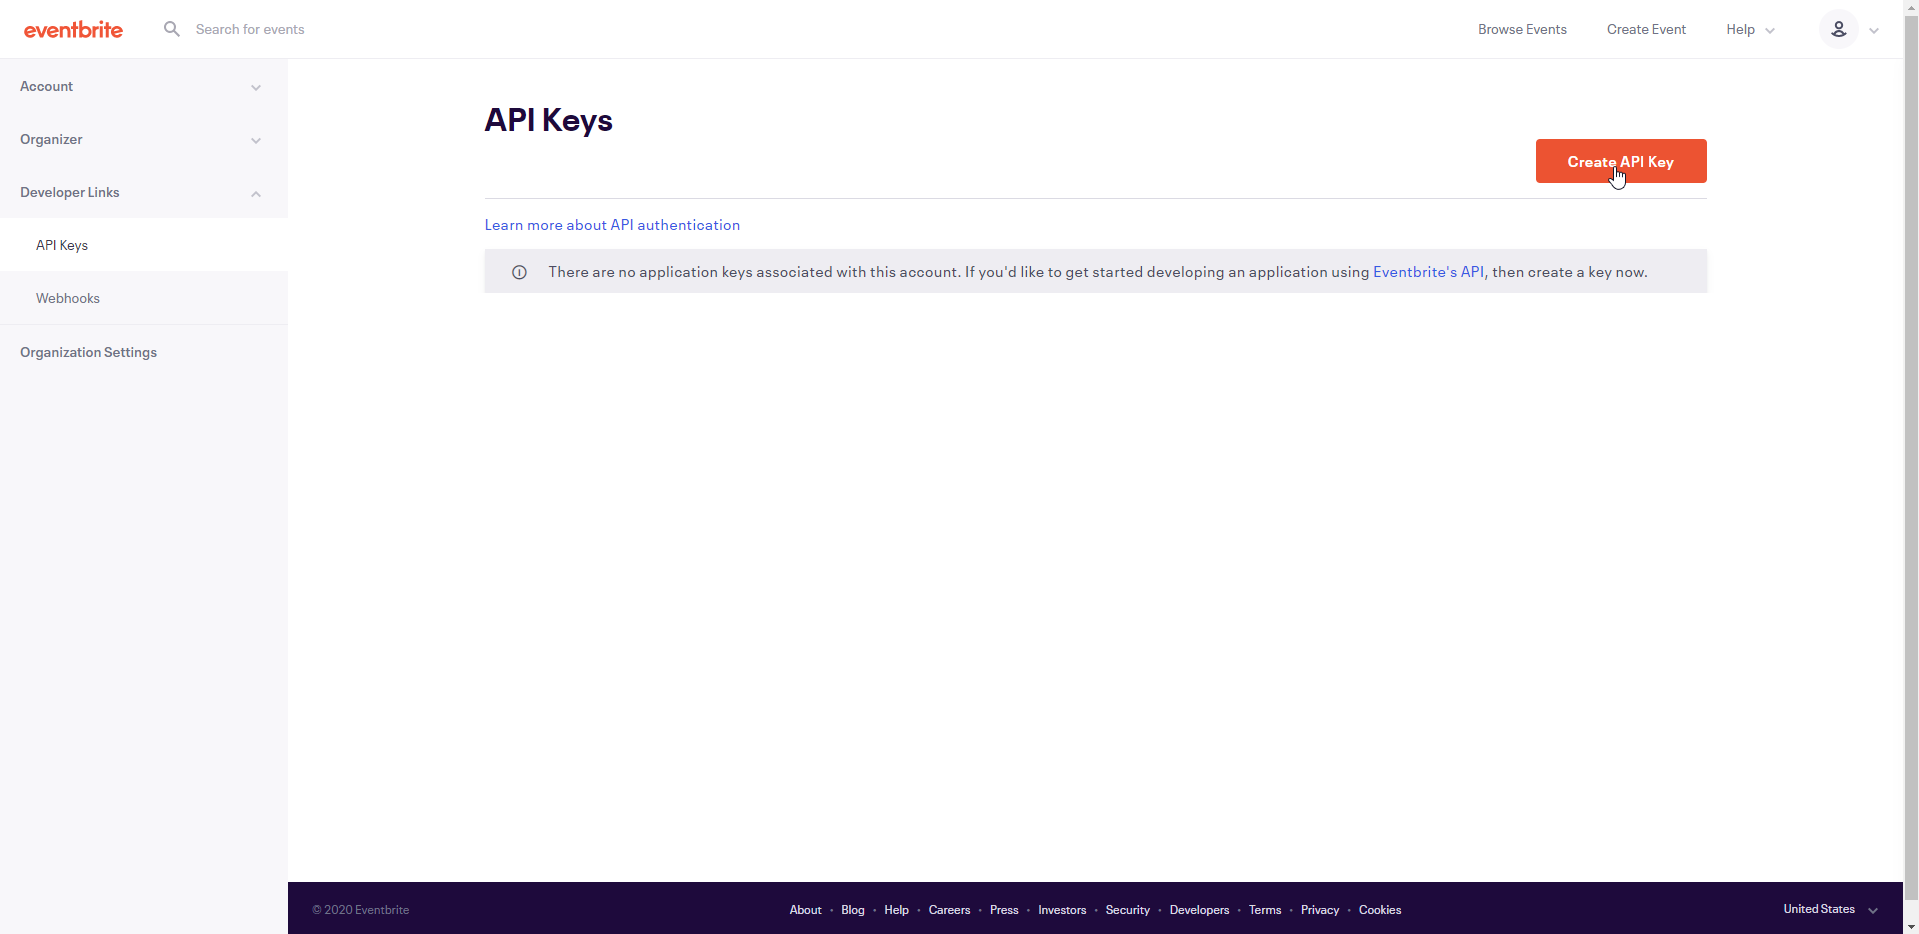
In the Developer Links menu, click on API Keys.
Click on Create API Key.
Fill out your info and click Create Key at the bottom.

Once your API Key is created, click on Show API key, client secret and tokens.
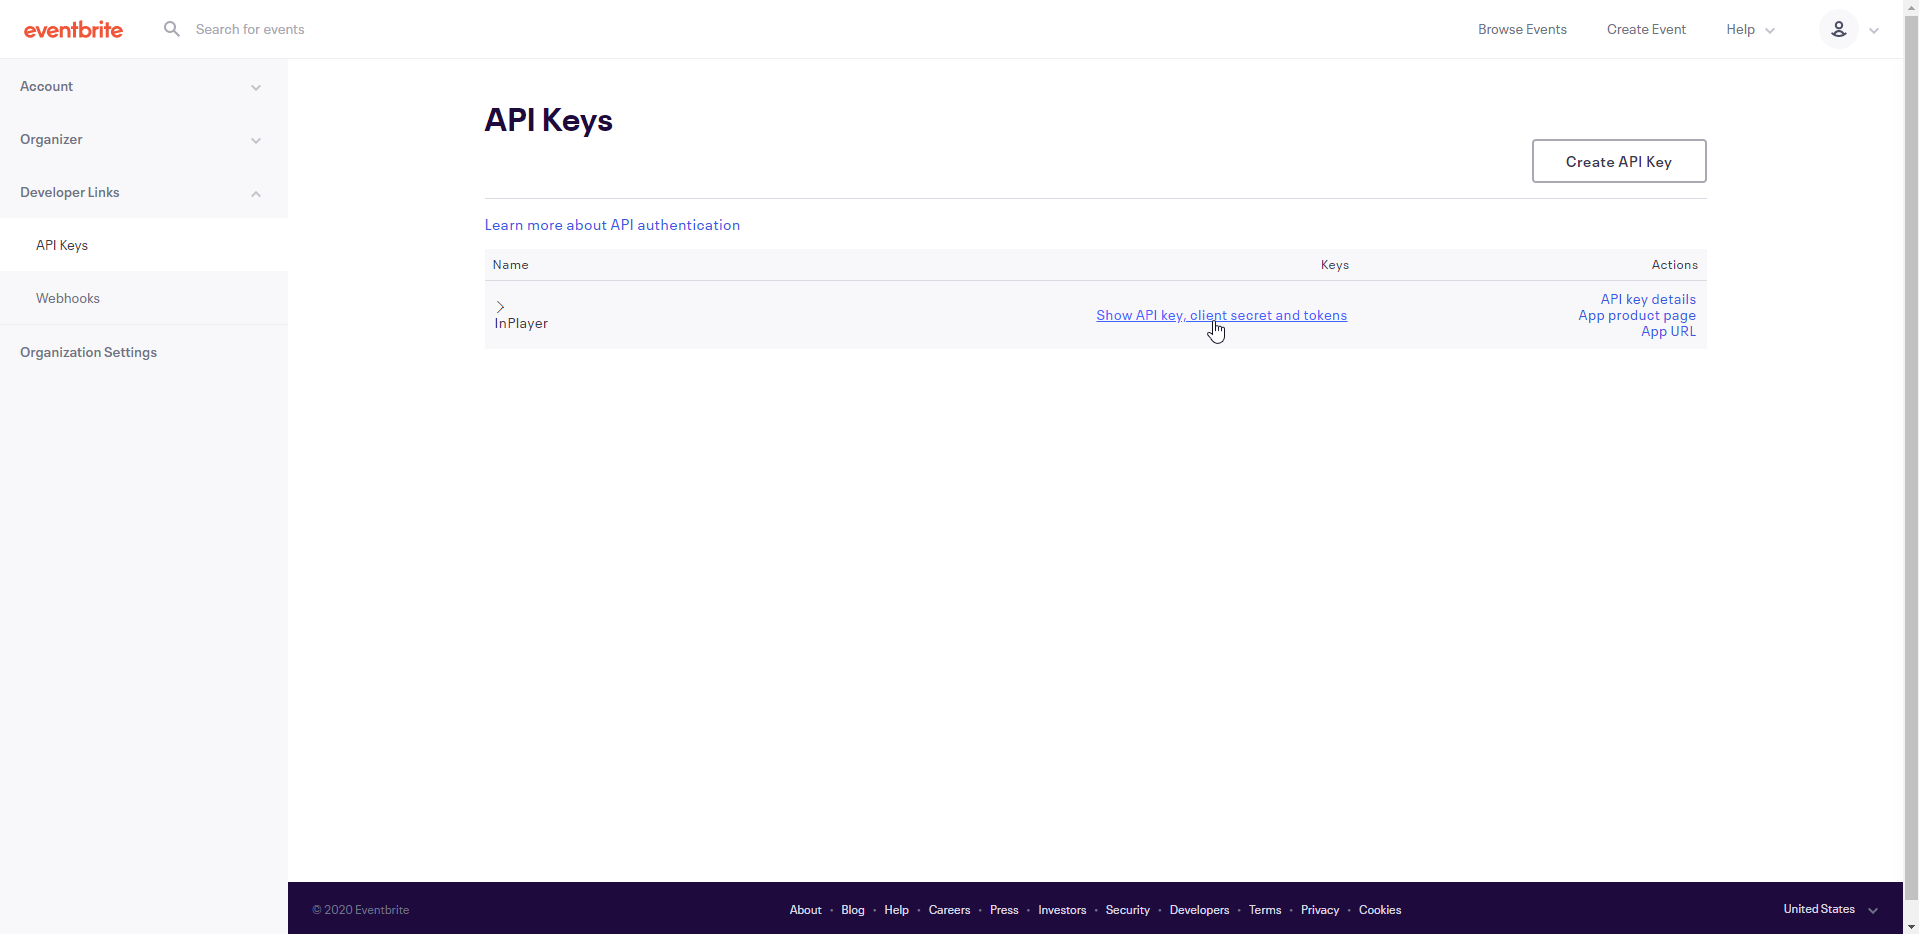
You will find your Private Token in the list that pops up.
The following is a quick guide on creating your Eventbrite event. For a detailed breakdown of all the various steps and settings in the event creation process, you can check out the official Eventbrite guide. If you decide to follow the steps there, when configuring the event make sure to select Online Event under Location, and Single Event under Date and time. Also, keep in mind that the video content should not be added to the Eventbrite event, since it is going to be injected via the InPlayer asset instead.
Before we start, an important thing to note is that the video content for the Eventbrite event will be injected via the InPlayer asset. This means that you should not add the protected video content in the Eventbrite event itself.
Log into your Eventbrite account.
Click on your account avatar at the top right and go to Create Event.

Fill out your event details.
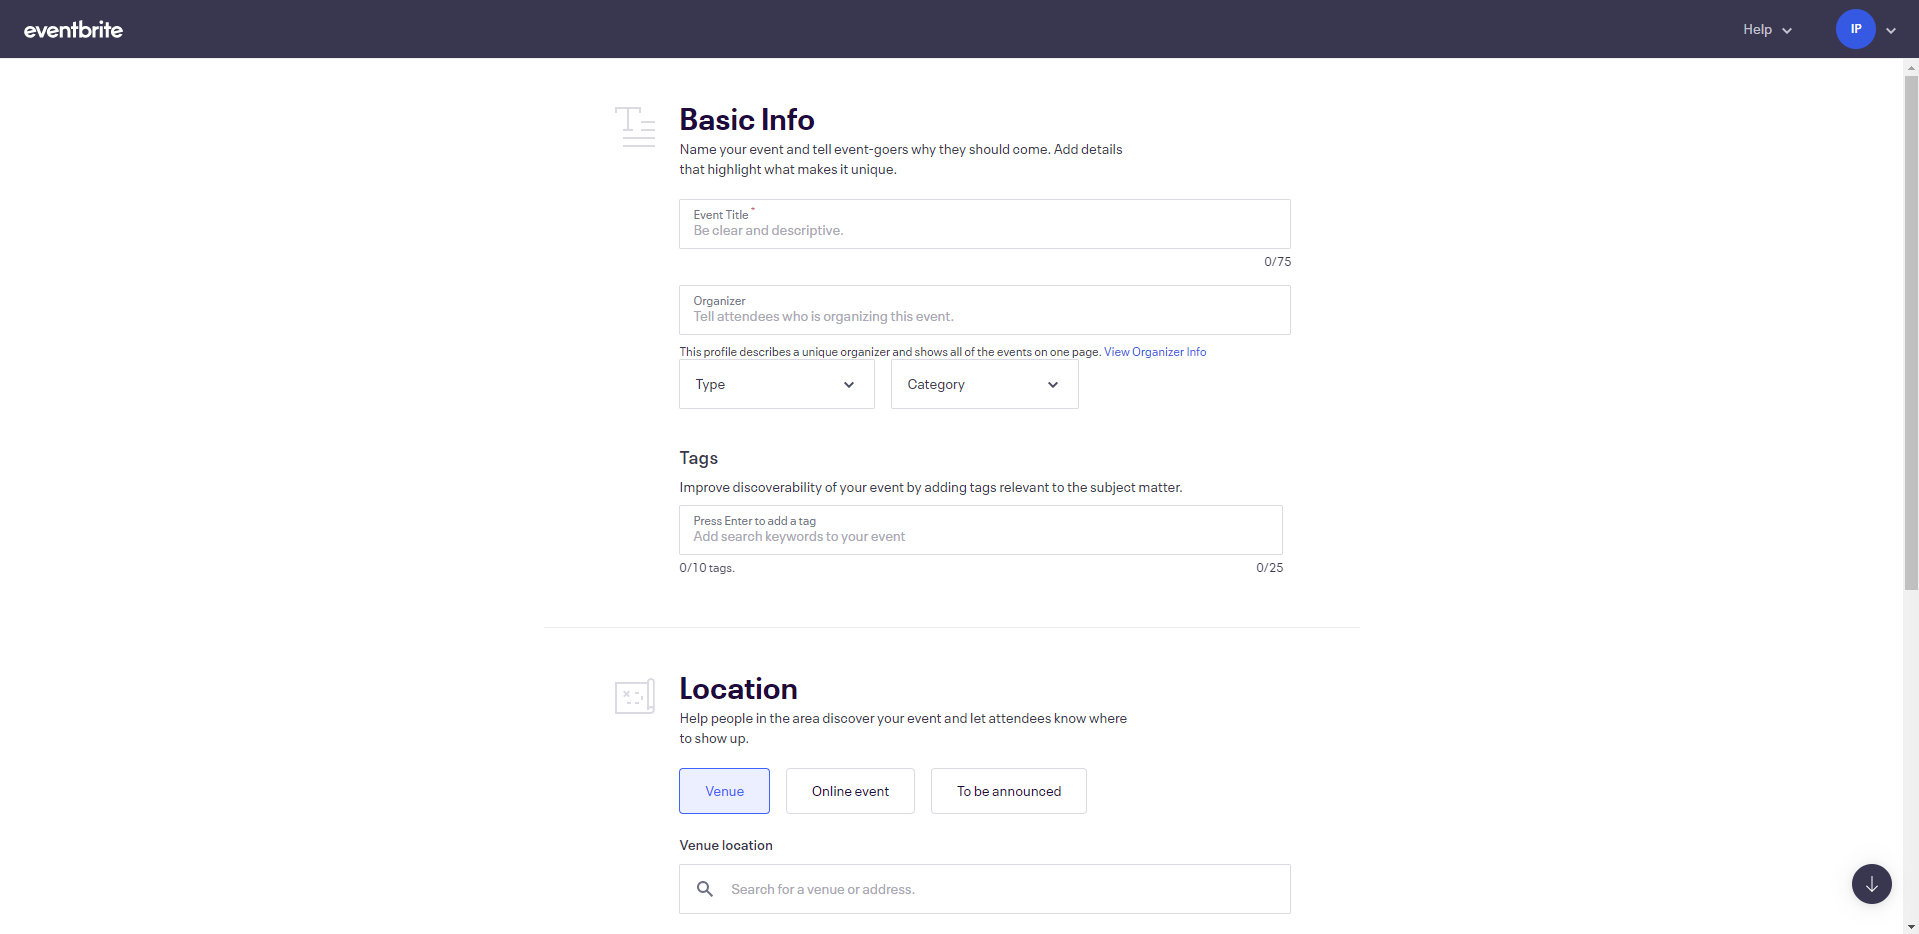
When filling out the details, keep in mind the following:
Under Location, make sure to select Online Event.
Under Date and time, make sure to select Singe Event. The Recurring Events option is not supported.
When you’re done, click on Save & Continue.

Proceed to fill out the rest of the event details.
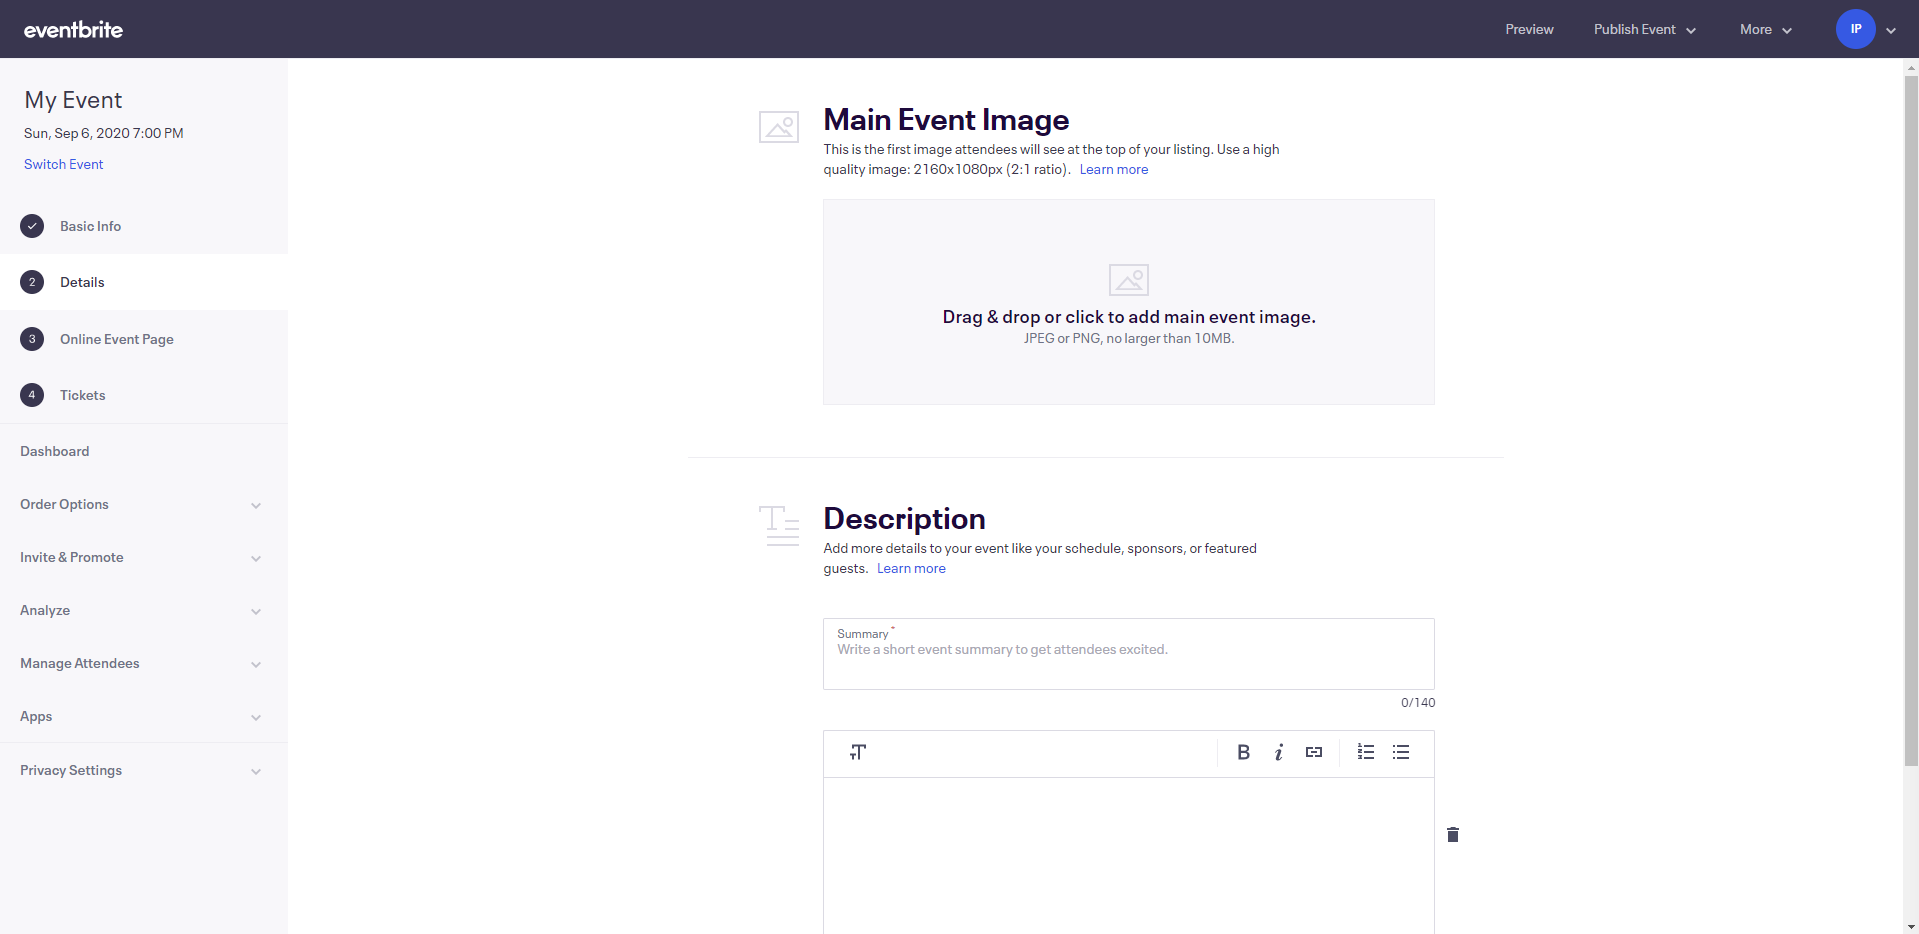
When you’re done, save the changes, and click on the Tickets tab from the left-hand menu.
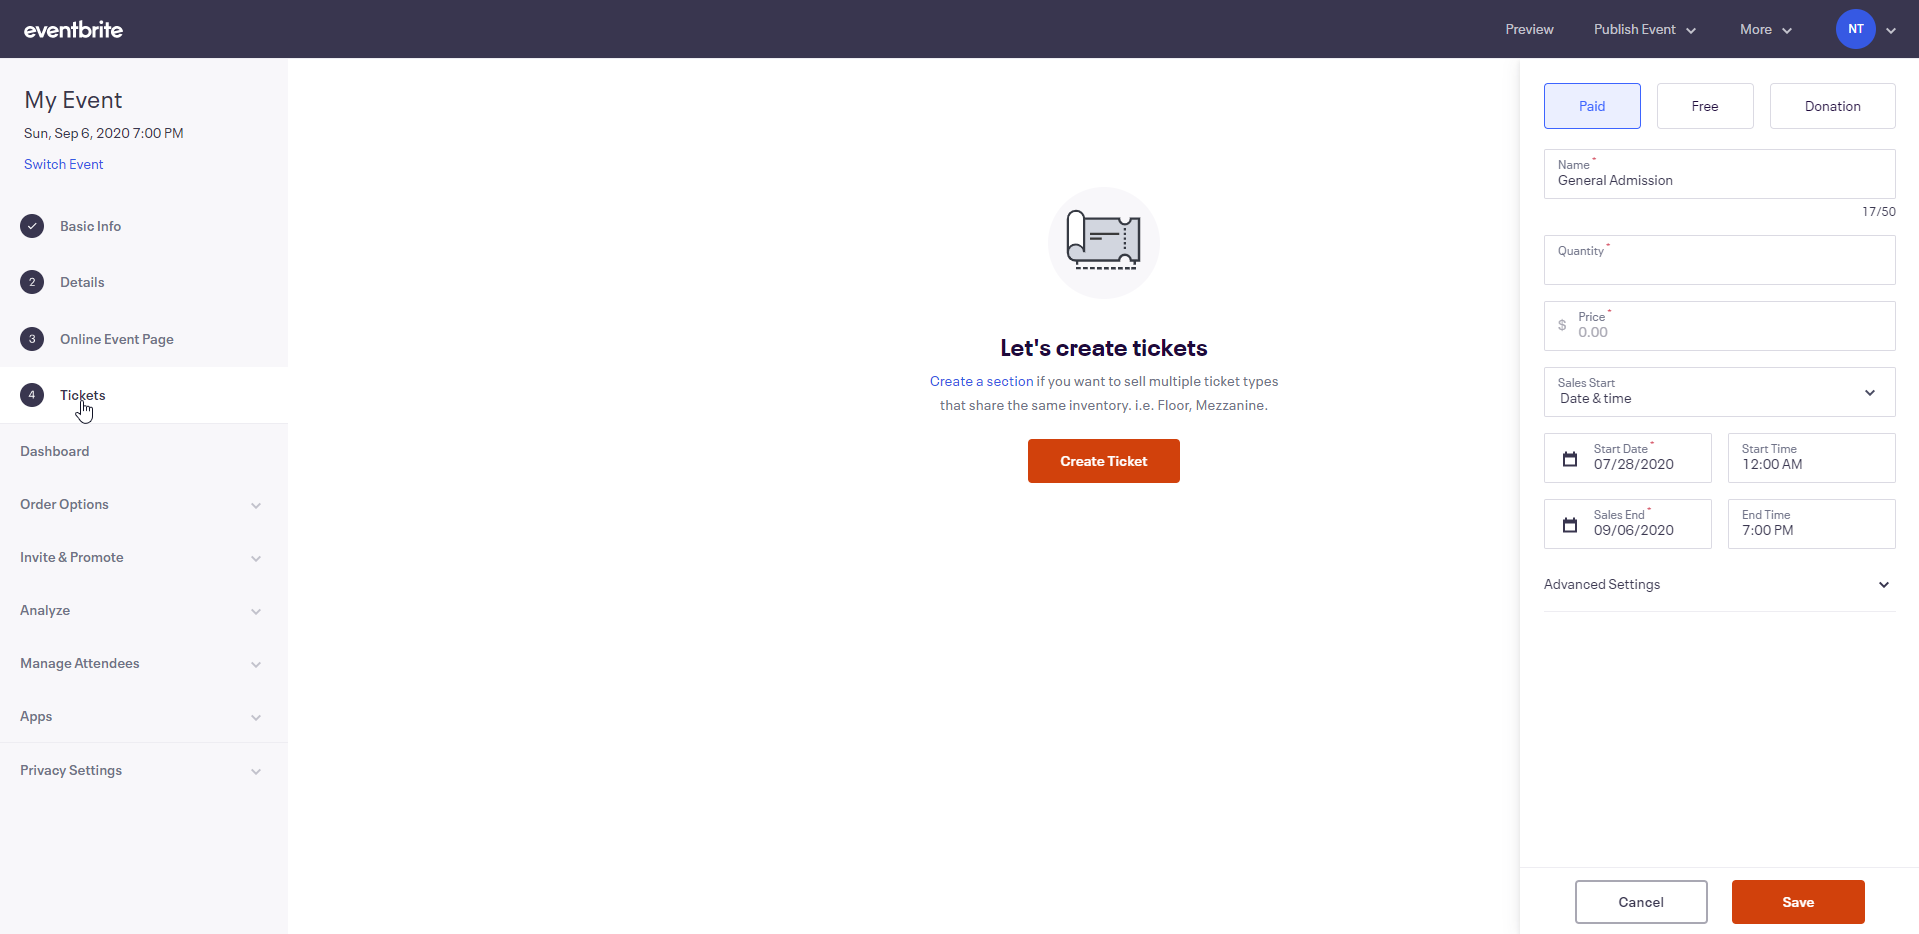
Configure the tickets settings.
When you’re ready, click Save.
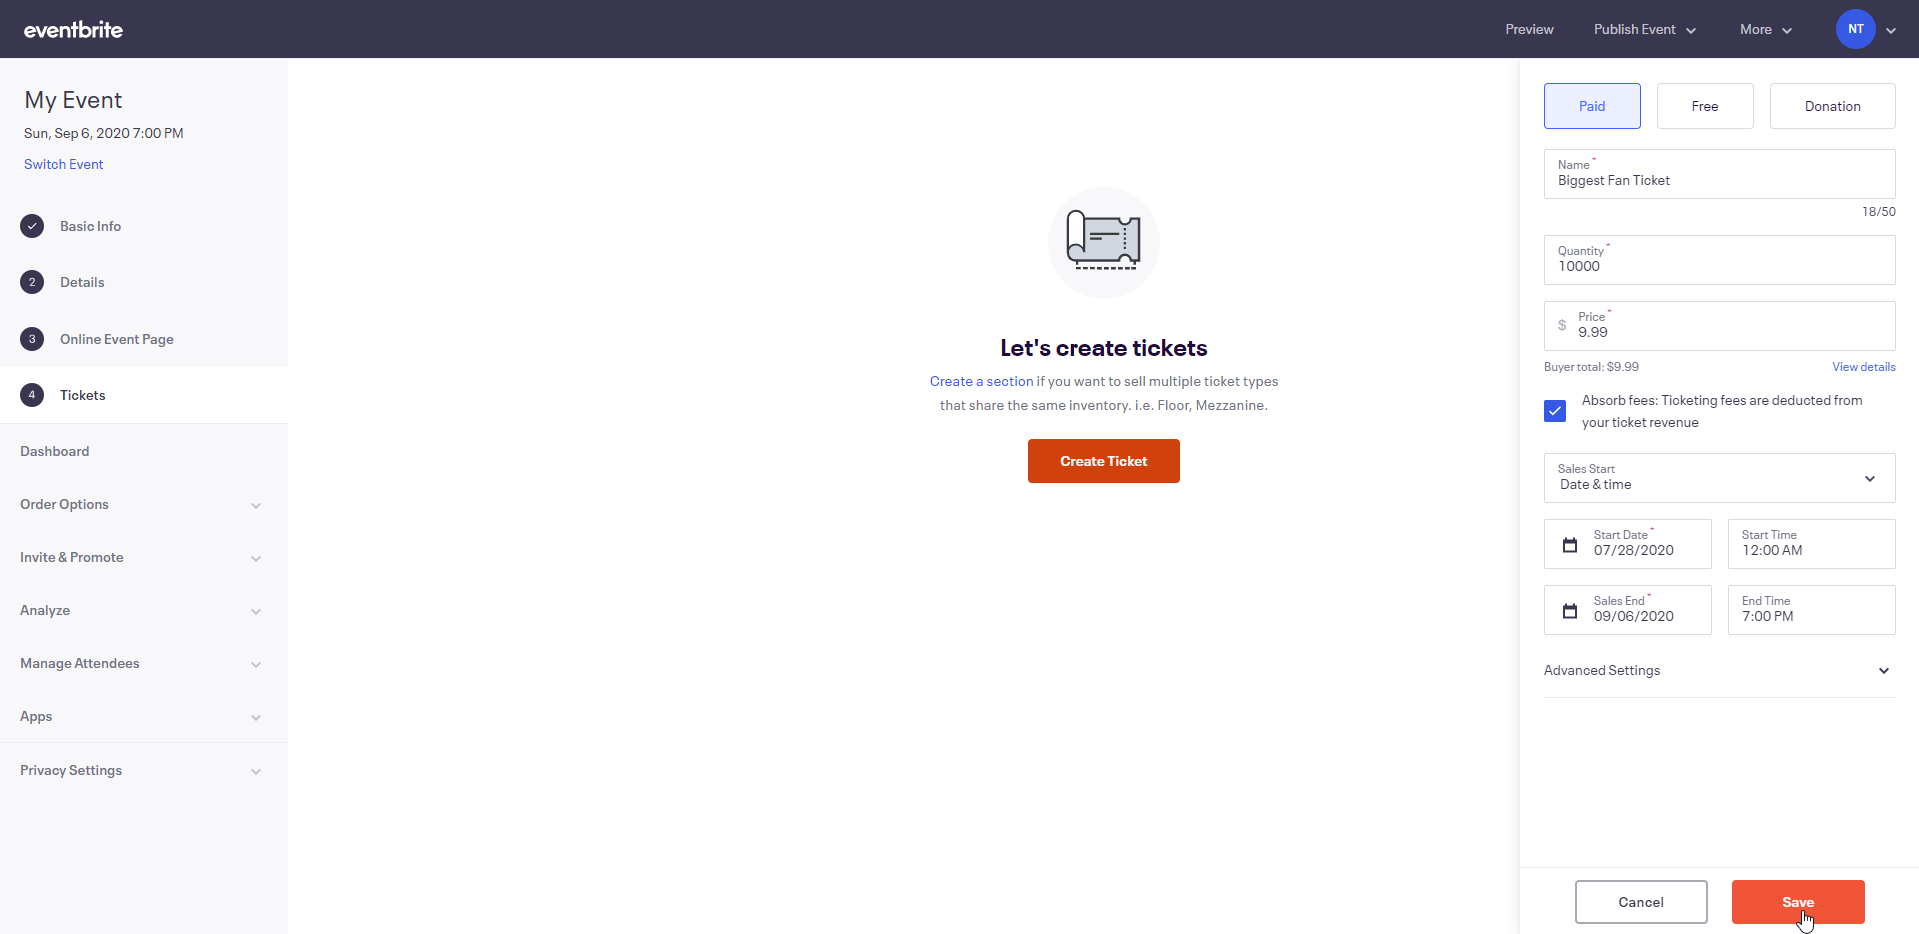
Make sure not to publish your event yet.
The next step is to create the InPlayer asset and connect it to the Eventbrite event.
Our platform supports many different types of assets. You can find guides on how to create them here, depending on the type of content you are planning on putting behind the paywall.
When creating the asset, make sure to skip the Price options and Embedding the asset sections of the guides.
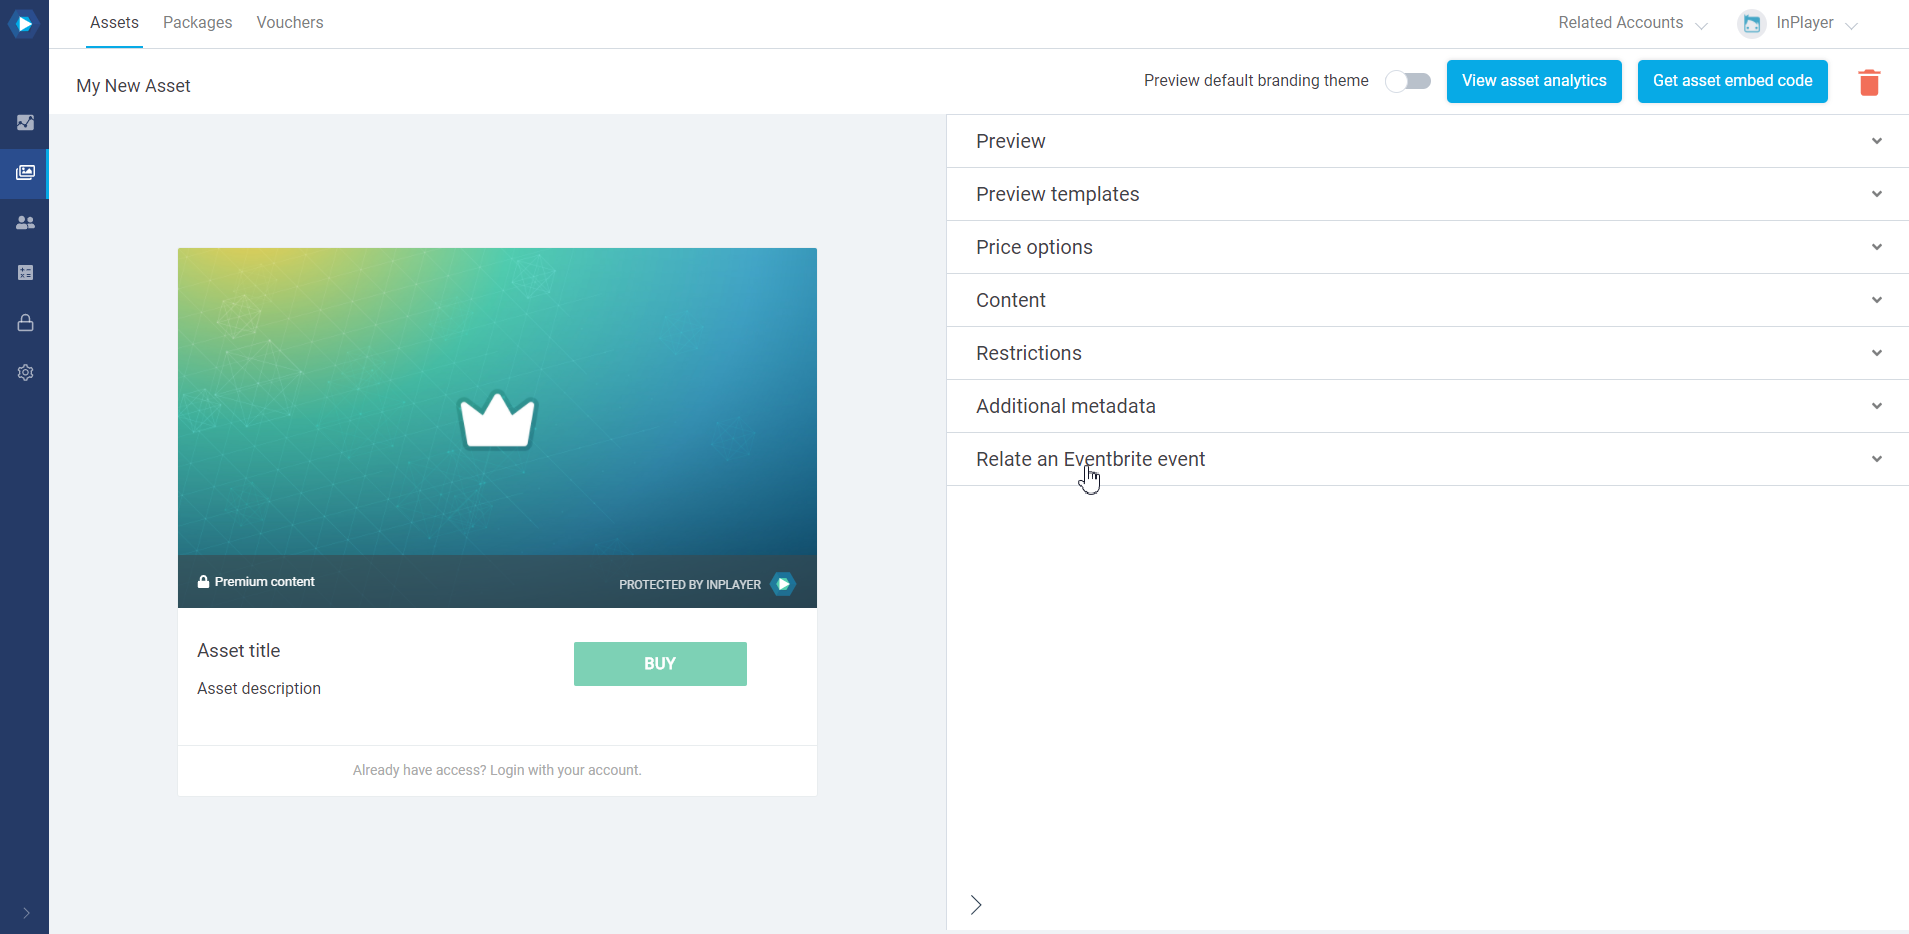
After creating your asset as per the guide, finish the setup by doing the following:
In the asset sections, click on Relate an Eventbrite event.
If your Eventbrite and InPlayer accounts have been properly connected in the first step of this guide, you should see your Eventbrite organization listed. Click on See events.
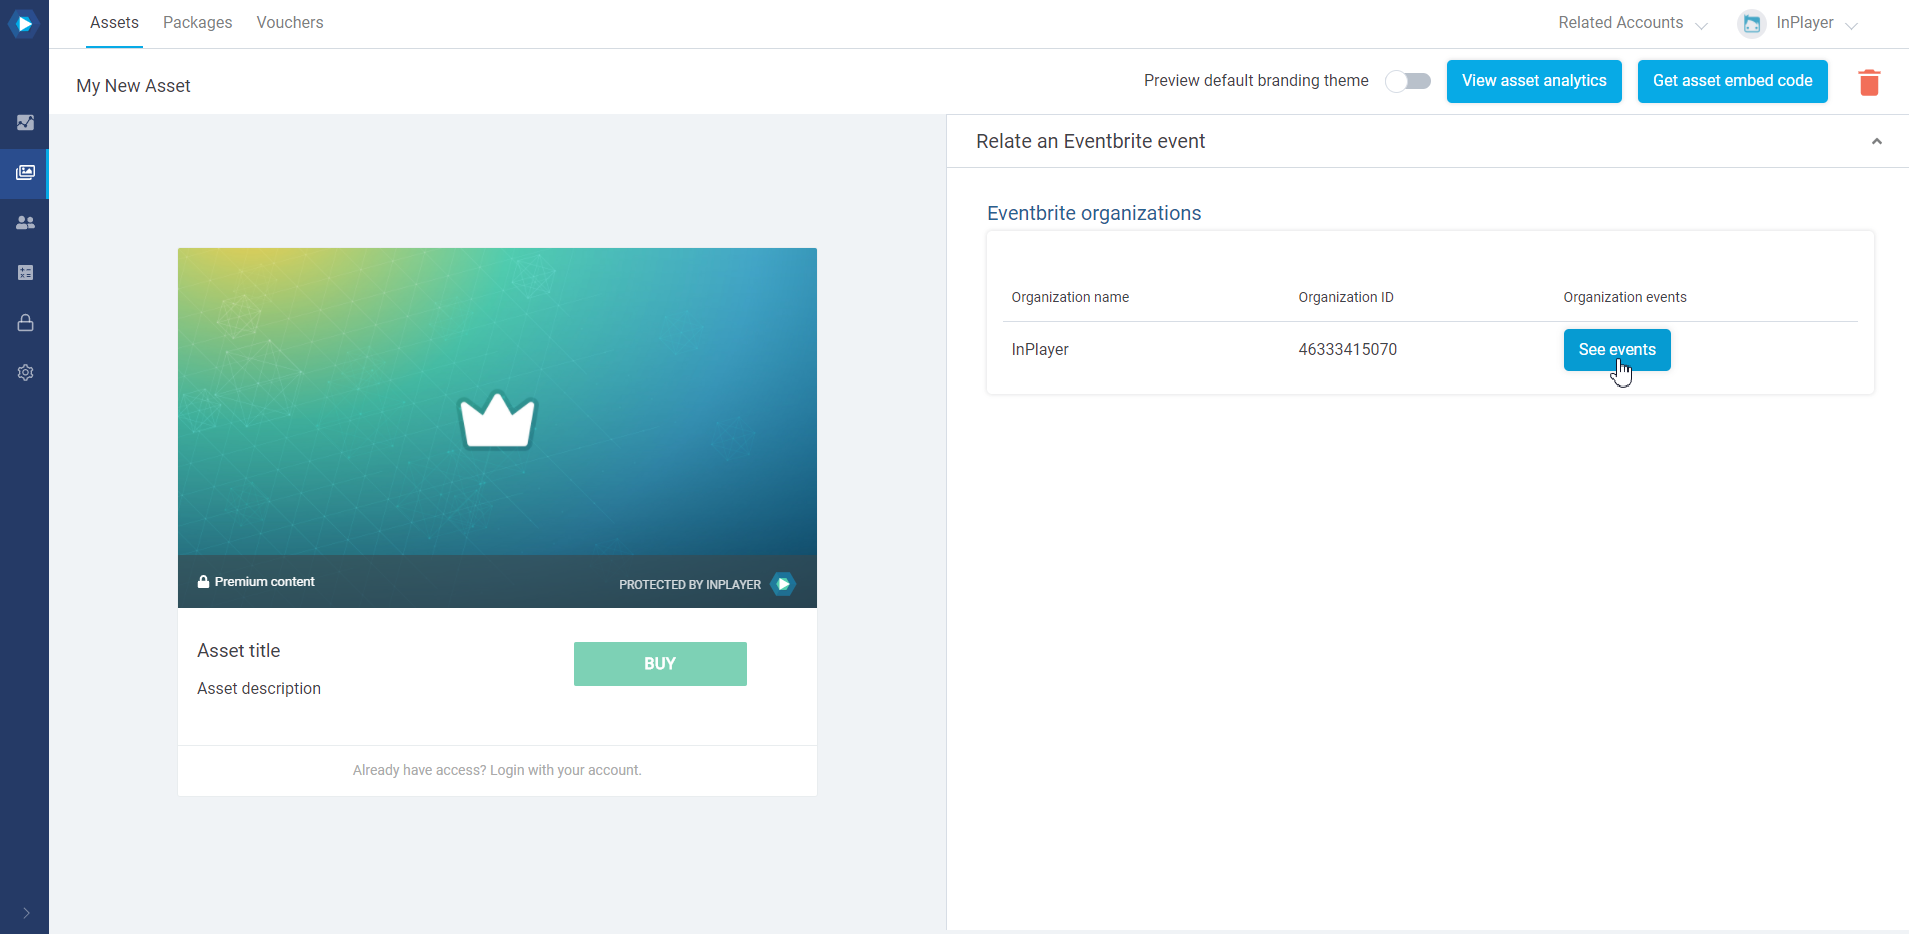
You will see a list of your Eventbrite events.
To connect your Eventbrite event with the InPlayer asset, turn the Relate event toggle on.
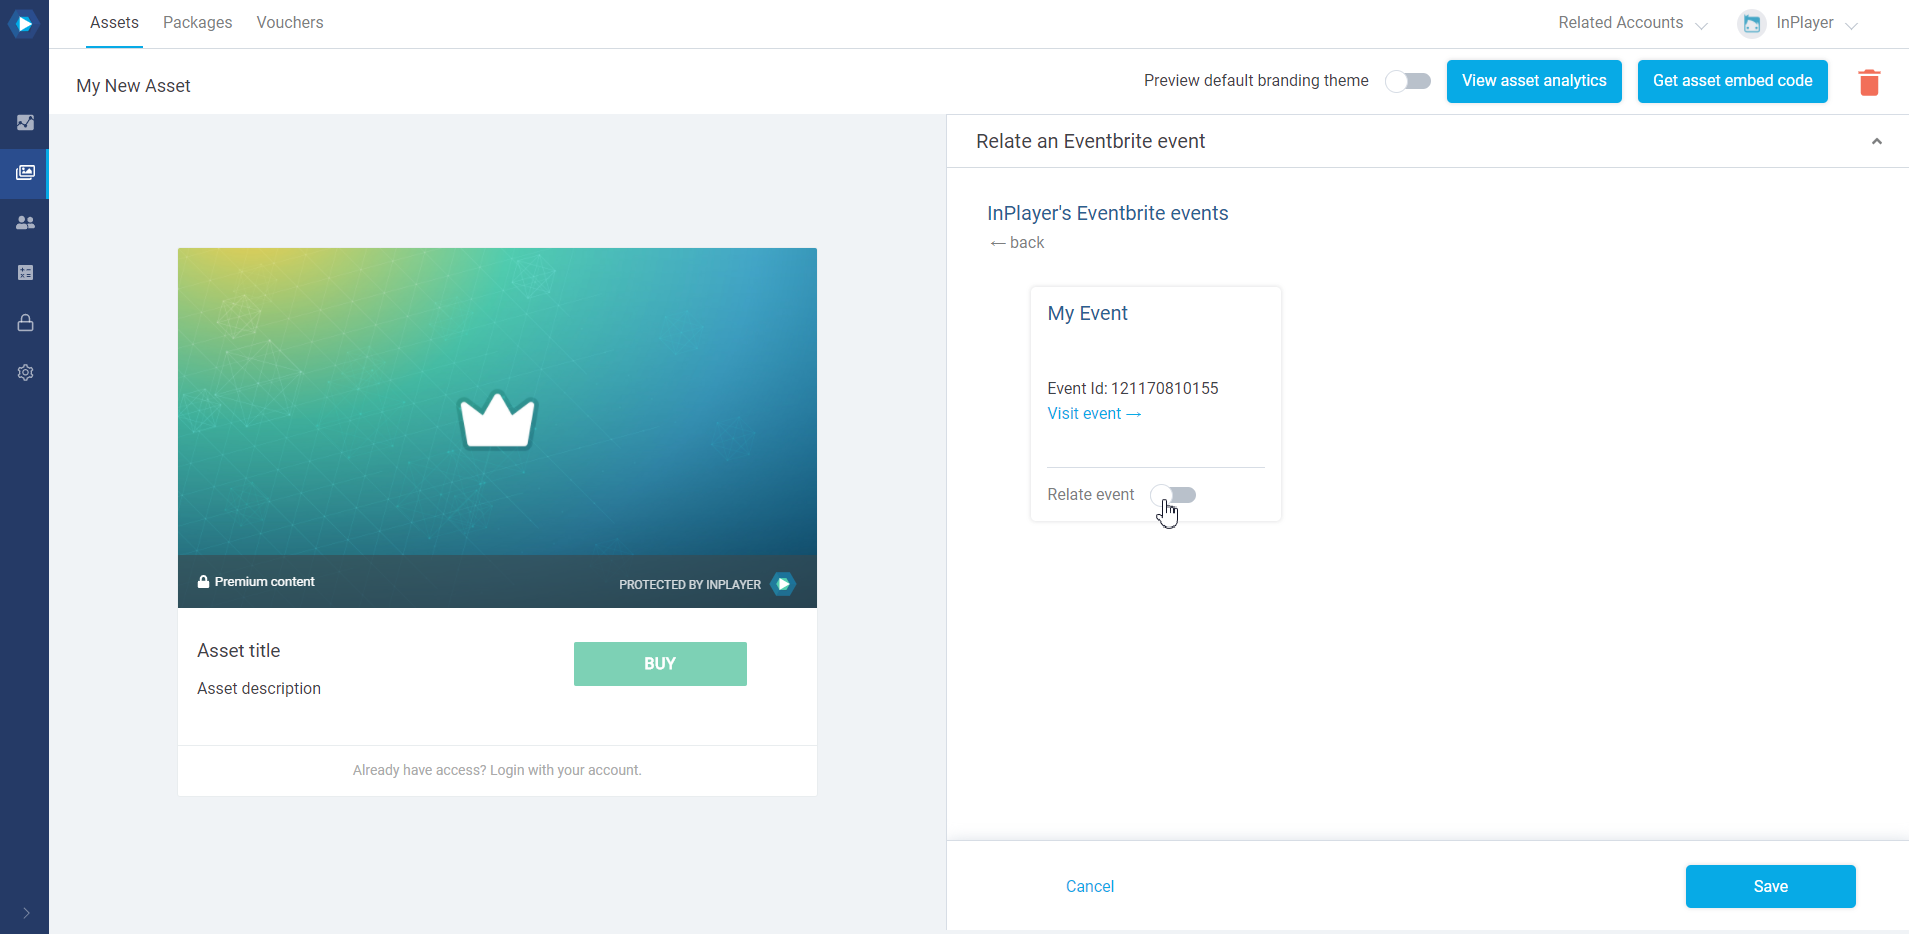
Click Save.

Go back to your Eventbrite event page, and click on Online Event Page.
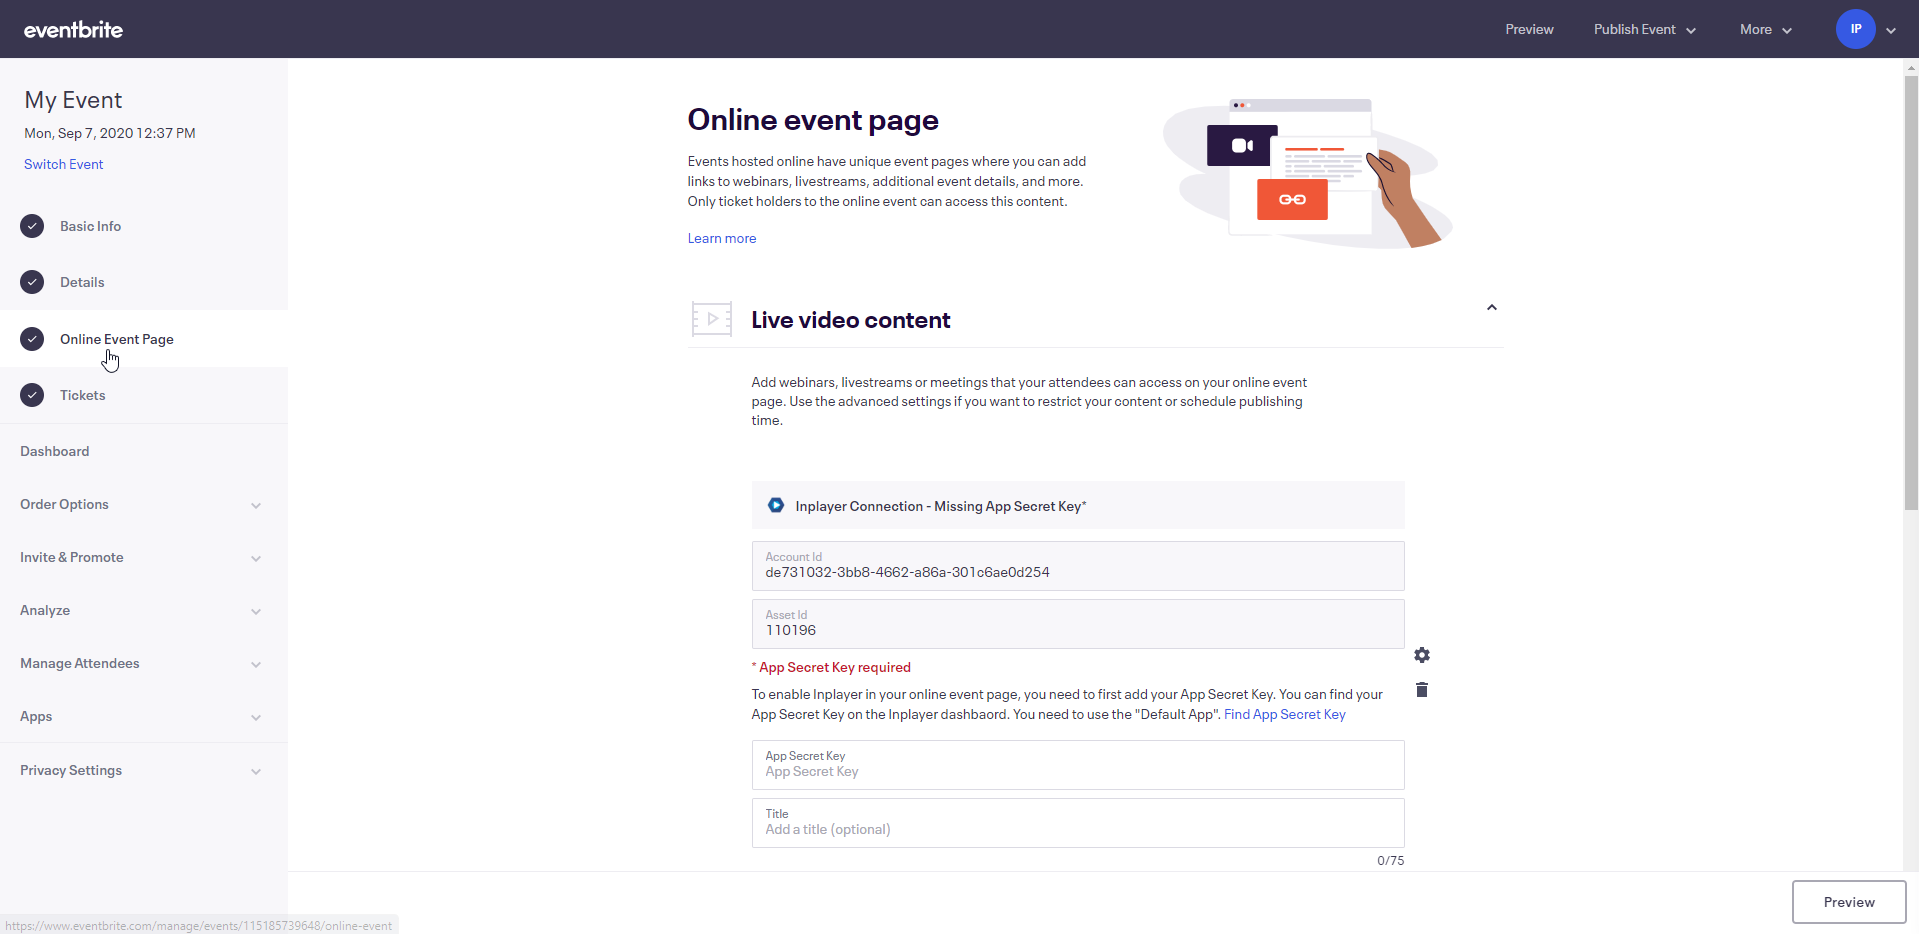
Under Live video content, you will now notice the InPlayer module.
Here, you will need to add the App Secret Key from the Default OAuth App in your InPlayer Dashboard. If you don’t know your App Secret Key, click Find App Secret Key to go to the screen where you can get a new one.

Note that if you ever generate a new secret key for your default OAuth app, you will need to update your Eventbrite events with it.
In the InPlayer Dashboard, click on the Generate new… button.
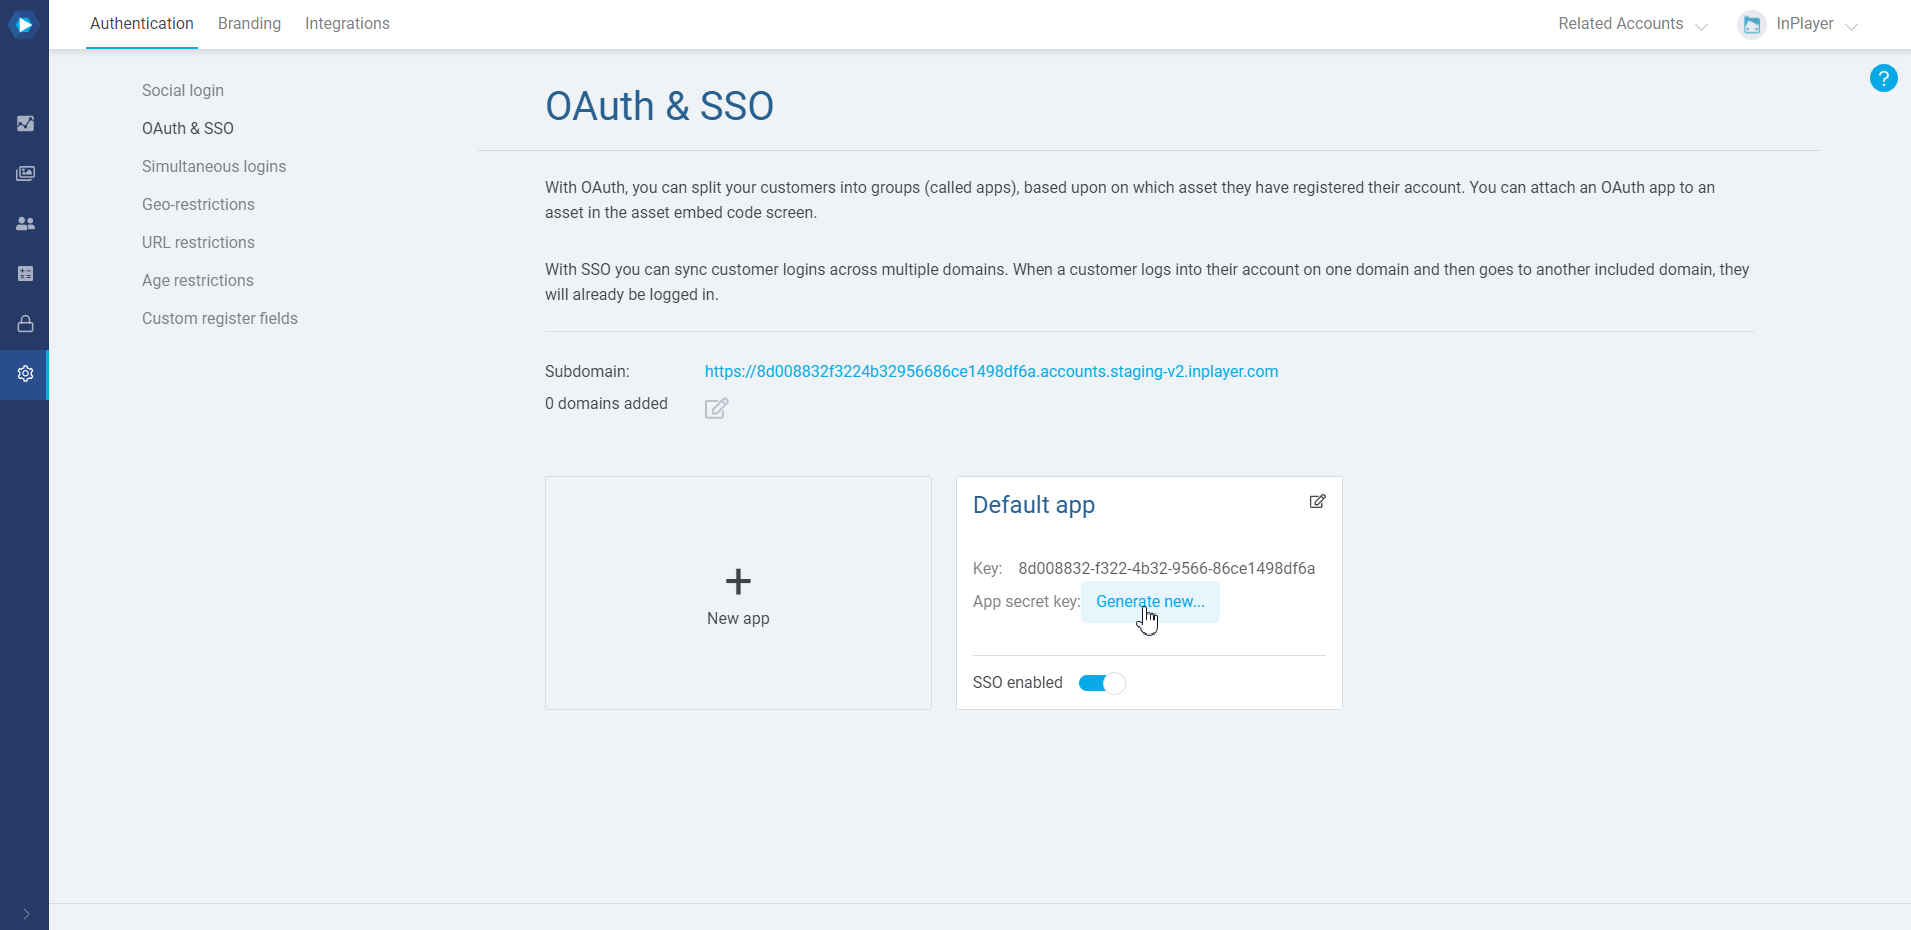
Copy the key and paste it in the App Secret Key field in Eventbrite.
Click Save.

The final step is to publish your event.
To do this, go to Publish Event from the top menu, and click on Publish Now.
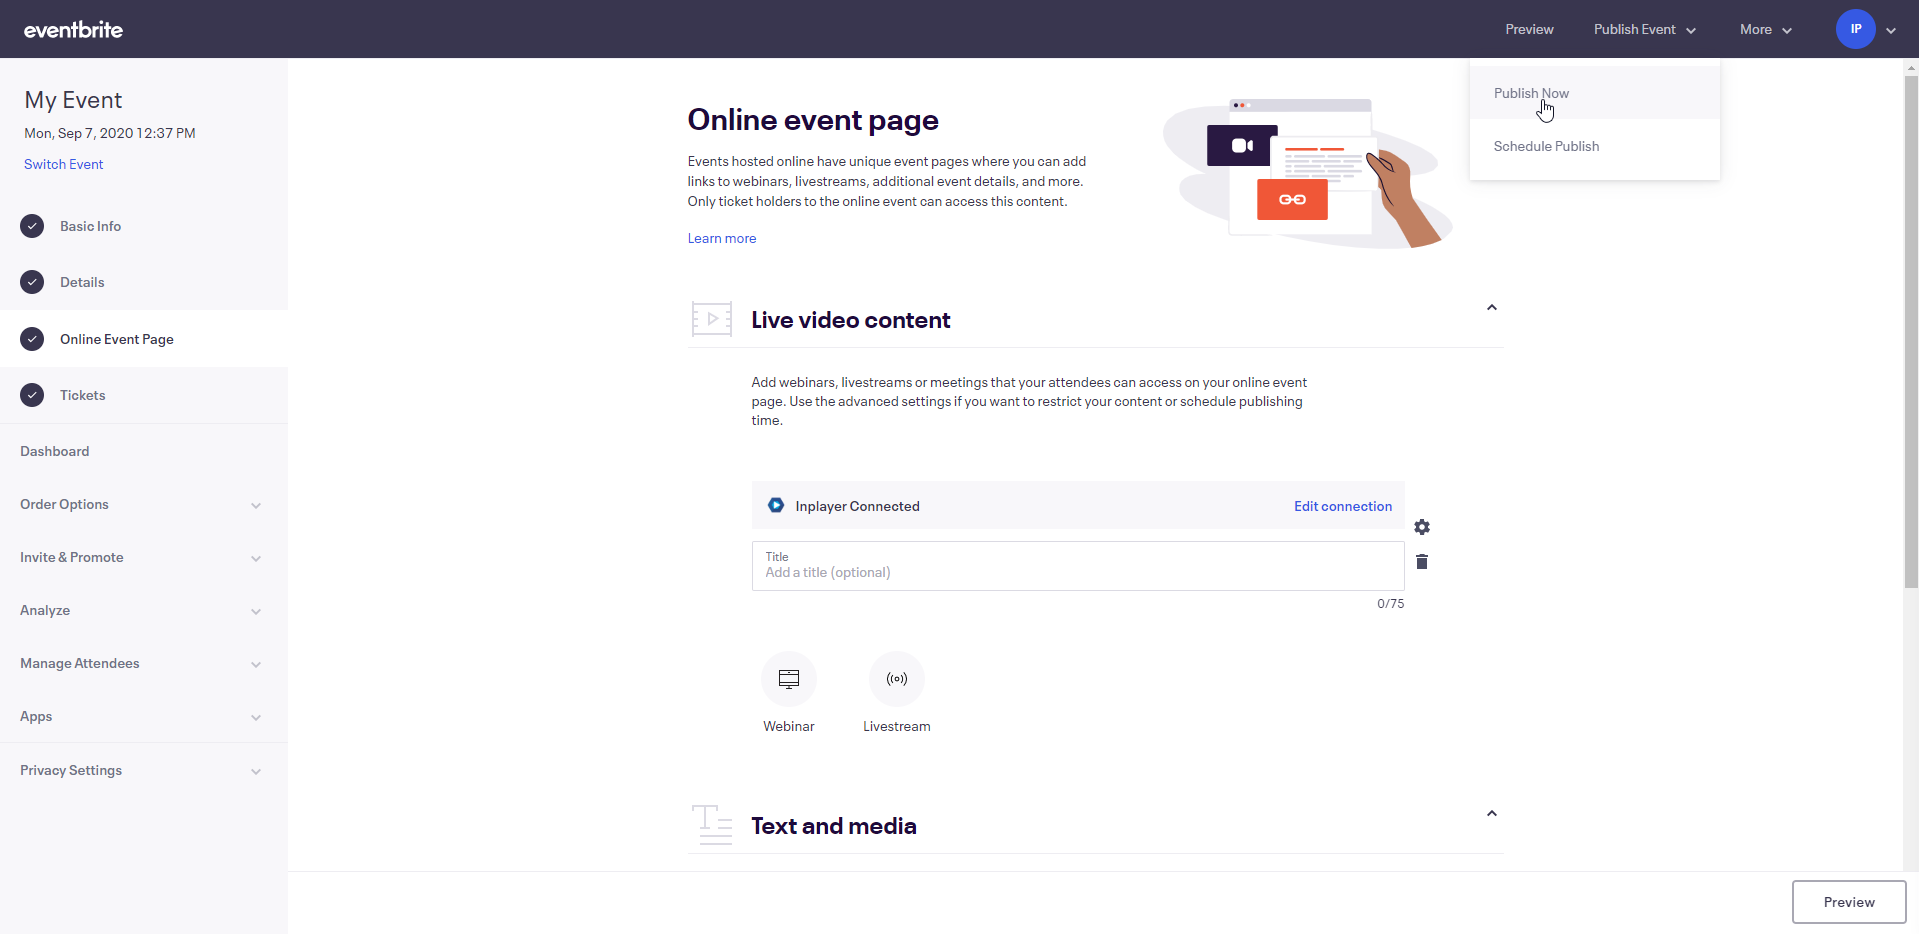
With that, you are all done.
Your Eventbrite event and InPlayer asset are connected.
Whenever a customer purchases a ticket on your Eventbrite event, a customer account will be created in the InPlayer Dashboard and they will get access to the content. And the content they will see will be the one that you’ve set up in your InPlayer asset.
If customer access to the content is revoked or granted in the InPlayer Dashboard, the same thing will happen in Eventbrite as well.
There are a few notable things to keep in mind in the InPlayer/Eventbrite integration.
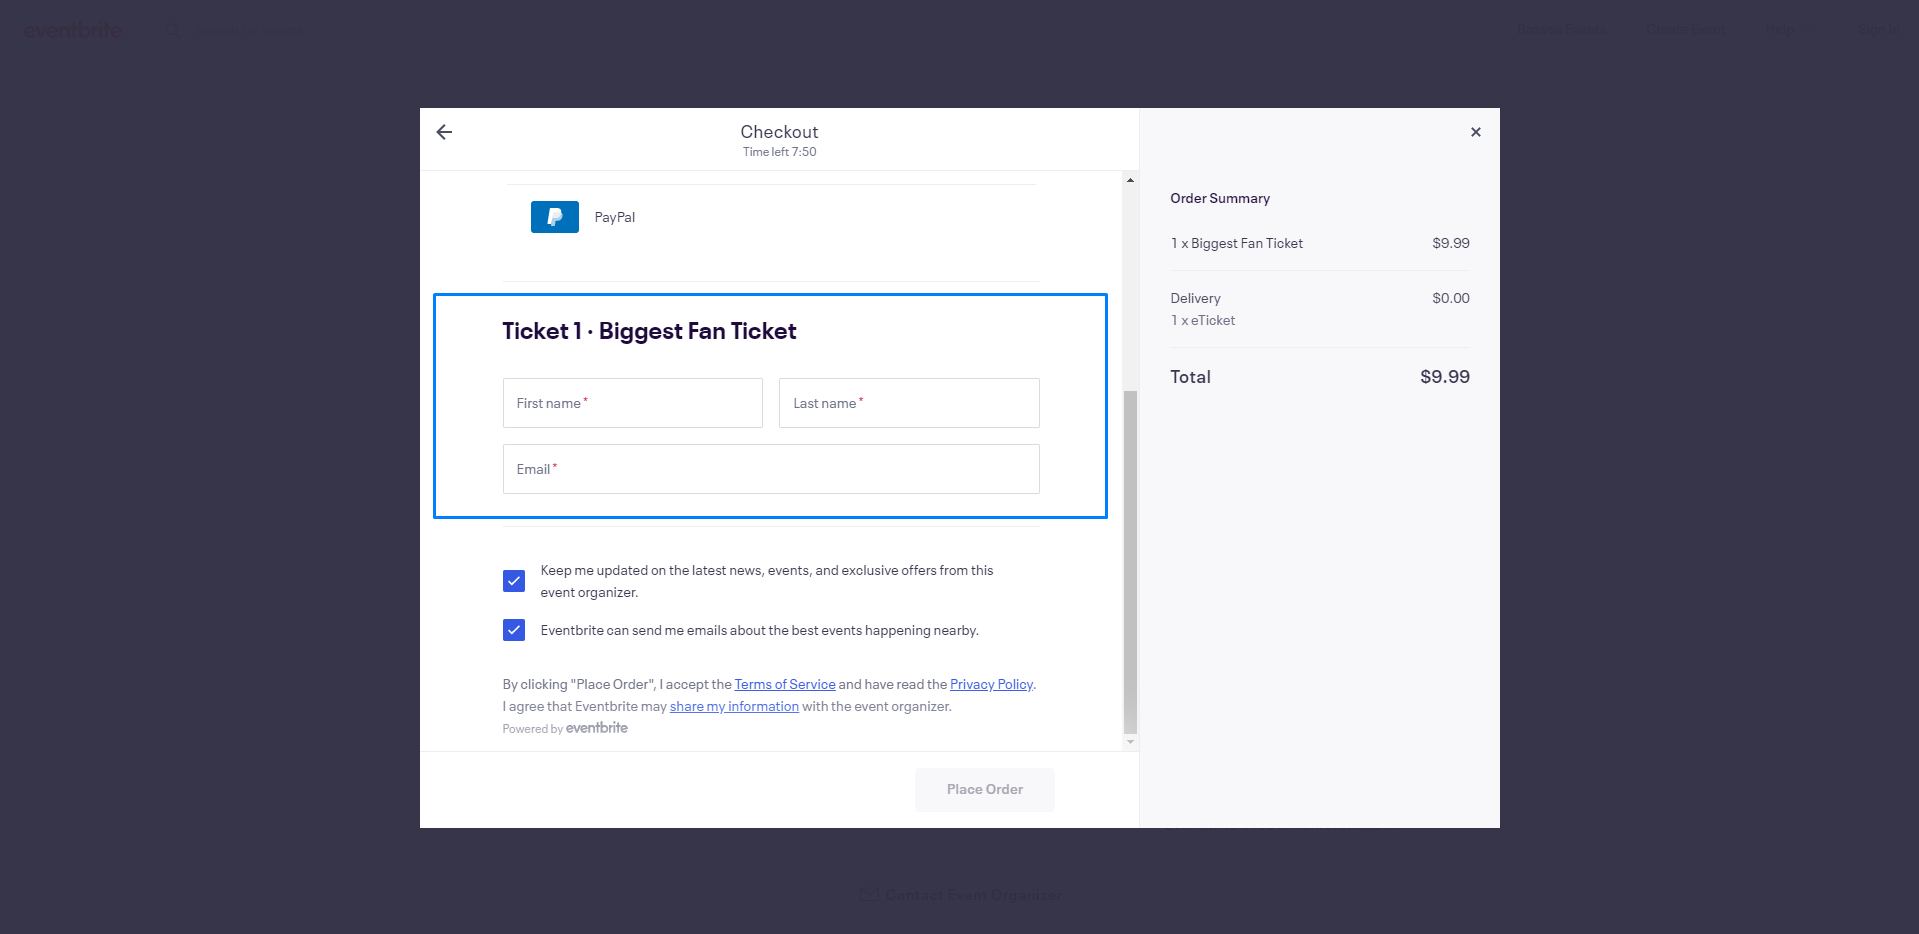
First, the email that will be used for the generated InPlayer customer account will be the email that the customer enters in the ticket info fields, and not in the Contact Information part at the top of the ticket purchasing screen.
If a customer is buying multiple tickets, and thus they enter multiple emails in the ticket info fields, an InPlayer account will be generated for each of those emails.
Second, the created InPlayer account will not contain a password, which means that the customer will not be able to log into the InPlayer paywall itself. They will only need to log into the Eventbrite platform.
Finally, if a customer purchases a pass for an event, and then you change the event date in Eventbrite, the access period for the customer in the InPlayer dashboard will not be changed accordingly. This means that customer access period changes will need to be done in the InPlayer platform, either manually, or via API.
If you have any questions, don’t hesitate to contact us on support@inplayer.com.