Audience
In the following guide, you will get more familiar with the Audience section of the InPlayer Dashboard.
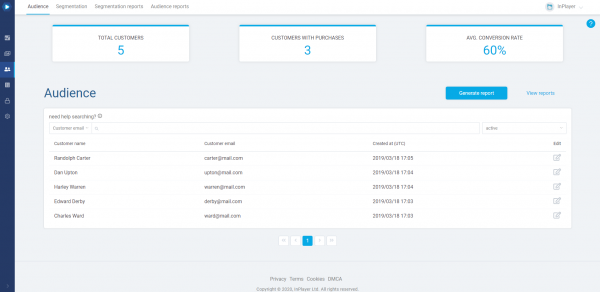
The Audience section contains all the information about your customers’ accounts. It also offers useful churn reduction and customer retention tools.
It has a few tabs: Audience, Segmentation, Segmentation reports and Audience reports.
Here you can see the customer’s details, what payments they’ve made, grant them and revoke their access, manage their subscriptions and more.
Navigating the Audience tab
Starting at the top, you can see some basic info about your customers:
- the number of customers,
- the number of customers with purchases,
- the average conversion rate.
Further down, you have the search bar, along with the option to choose whether to view a list of the active or deactivated customers.
To use the search bar, click on it, choose the filter you wish to use for your search from the dropdown menu, and type in your search.
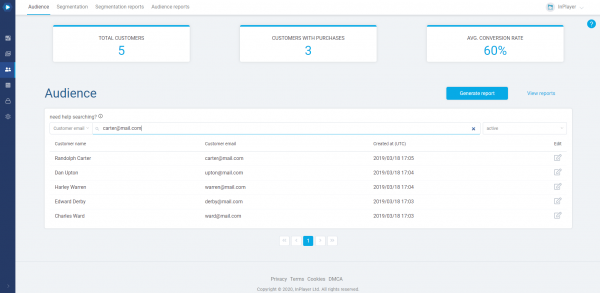
So, if you wanted to find the customer with the email address carter@mail.com, you’d click on the search field, choose the Customer email filter, type in carter@mail.com, and press Enter.
Note that you can also search with just the first part of the email address, in this case carter, or the second part, in this case mail.com.
However, you cannot search by typing any of the two parts of the email address just partially, in this case, cart or mail.
Next, you have the Generate report and View reports buttons. We’ll see how to use these in the guide to Reporting.
Finally, you have the main part of the Audience section, which is the table where you can see some basic details about your customers.
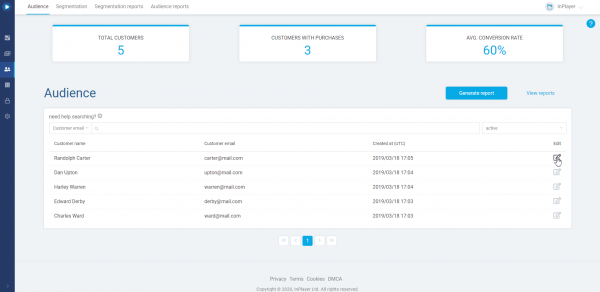
To open a customer account, just click the ![]() button on the right, under the Edit column in the customer’s row.
button on the right, under the Edit column in the customer’s row.
Once you open a customer account, you can see various info and manage the account in various ways.
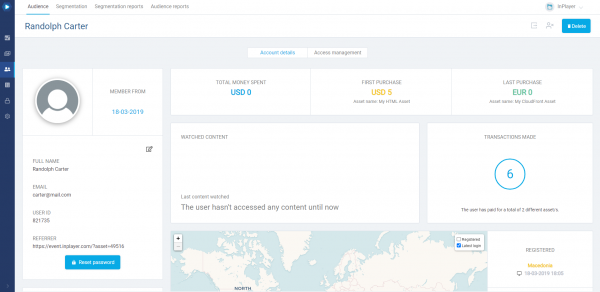
On the left, you have the general customer info section. Here, you can see the customer details like the email, full name, the webpage on which they’ve registered their account etc.
You can also edit the customer’s full name and reset their password.
To do this, just click on ![]() in the general information section.
in the general information section.
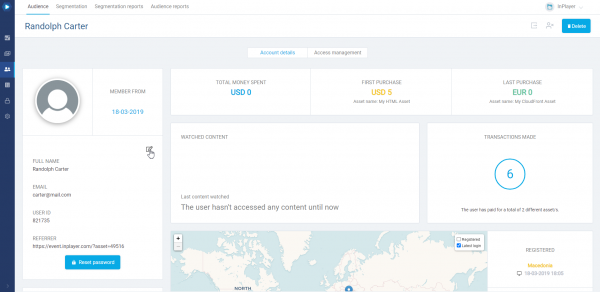
Enter a new full name and click ![]() .
.
Note that you cannot change the other customer details, like, for example, their email address.
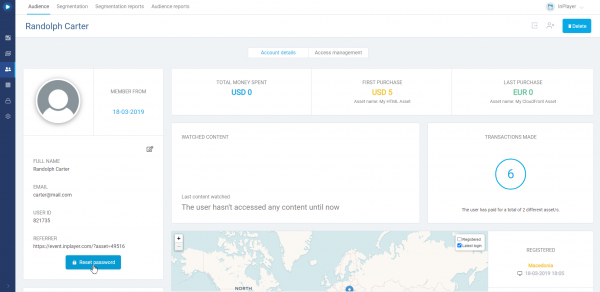
The customers can reset their passwords directly from the paywall interface, however, you also have the option to do it from the merchant panel. Doing it from here will send a ready-to-use password to the customer’s email address.
To do this, just click on Reset password.
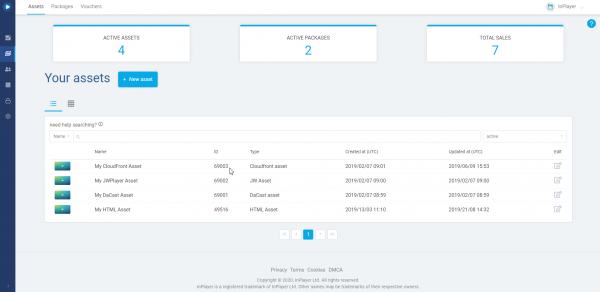
To grant a customer free access to an asset or a package, first get the Asset ID of the asset or package to which you wish to grant the access.
You will find the Asset ID in the Assets tab:
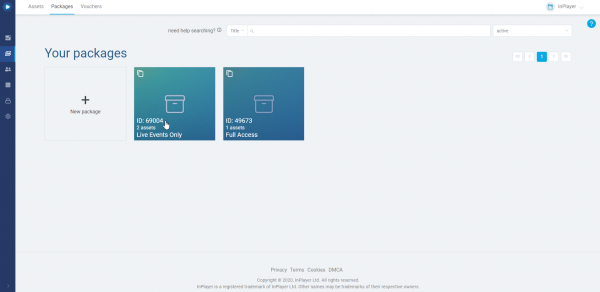
Similarly, you will find the package ID in the Packages tab:
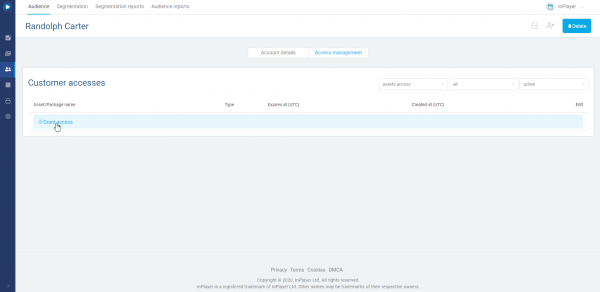
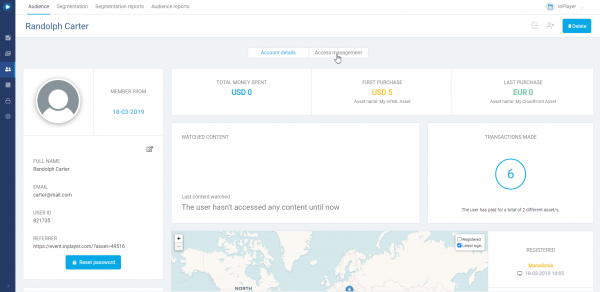
Once you have the ID, go back to the customer’s account and click on the Access management tab.
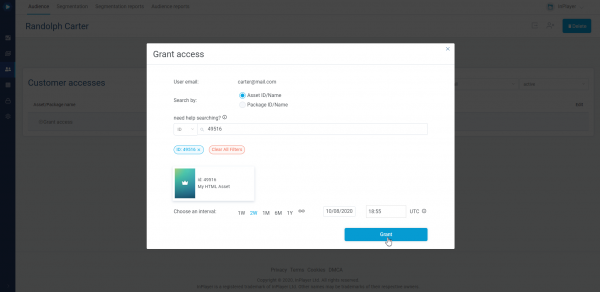
In the new window, select whether you are granting access to an Asset or a Package.
In the search bar, click on ID or Title, depending on what you want to use to search for the asset or package, and paste the asset or package ID or Title.
Click on the package or asset.
Choose for how long you wish to grant the access.
Finally, click Grant.
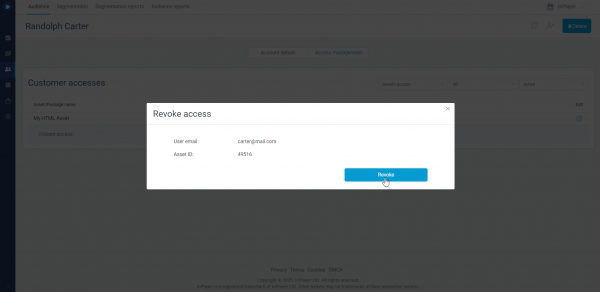
To revoke a customer’s existing access pass, click the ![]() button under the Edit column in the asset’s row.
button under the Edit column in the asset’s row.
Then click Revoke access.
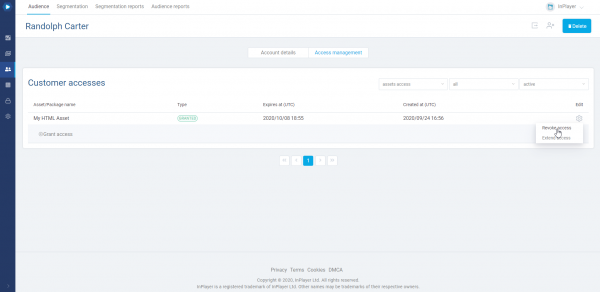
Confirm by clicking Revoke.
To extend a customer’s existing access pass, click the ![]() button under the Edit column in the asset’s row.
button under the Edit column in the asset’s row.
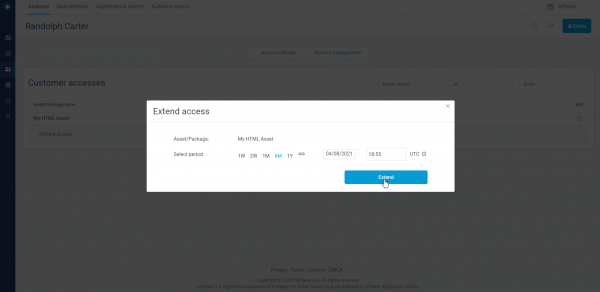
Then click Extend access.
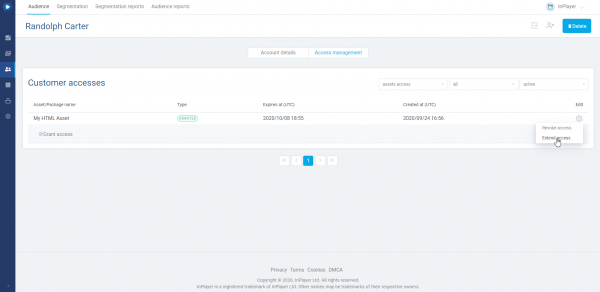
Here, enter the new date to which you’d like to extend the access and click Extend.
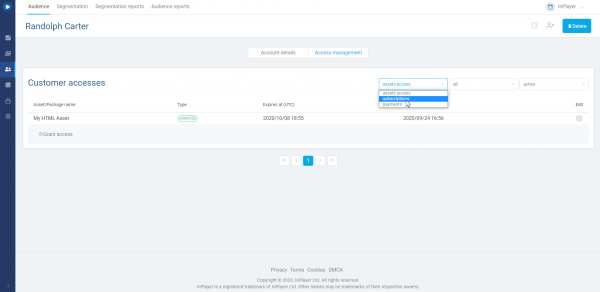
To do this, first select Subscriptions from the asset access drop-down menu.
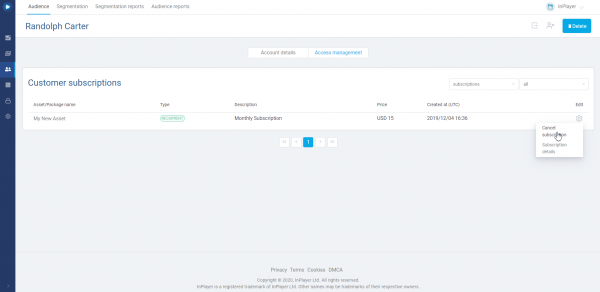
Then click the ![]() button under the Edit column in the asset’s row.
button under the Edit column in the asset’s row.
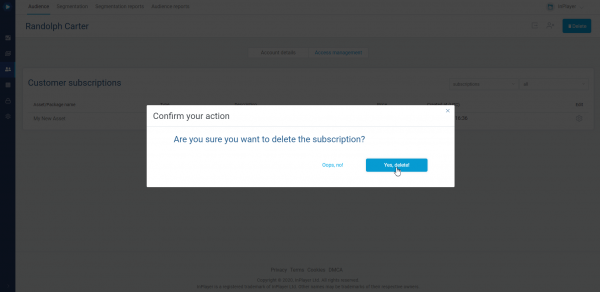
Click Cancel subscription.
Confirm by clicking Yes, delete.
To do this, first select Subscriptions from the asset access drop-down menu.

Then click the ![]() button under the Edit column in the asset’s row.
button under the Edit column in the asset’s row.
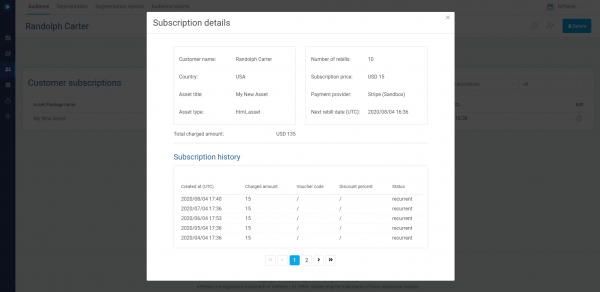
Click Subscription details.
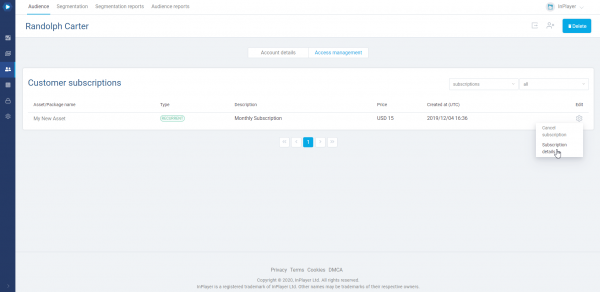
Here you can see all the available details for the customer’s subscription.
Deleting a customer’s account
At the top right corner of the customer account screen, you have the options to delete, deactivate, or export the customer’s account.
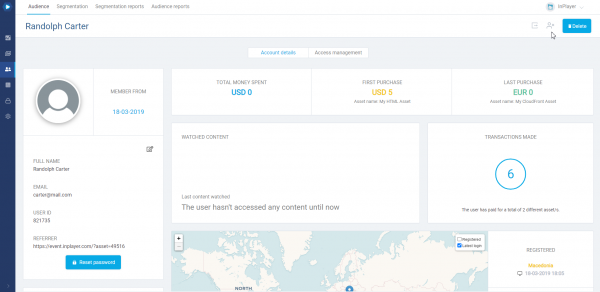
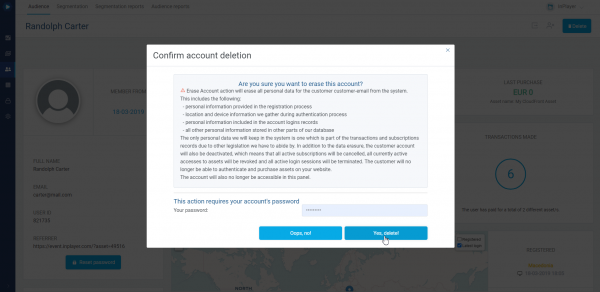
To delete a customer’s account, click the Delete button.
Then, enter your dashboard password, and click Yes, delete! to confirm.
To deactivate a customer account, which terminates all accesses and subscriptions the customer has (but doesn’t delete the account), click the ![]() button.
button.
You can reactivate the account by going to the deactivated accounts list and clicking on Reactivate account.
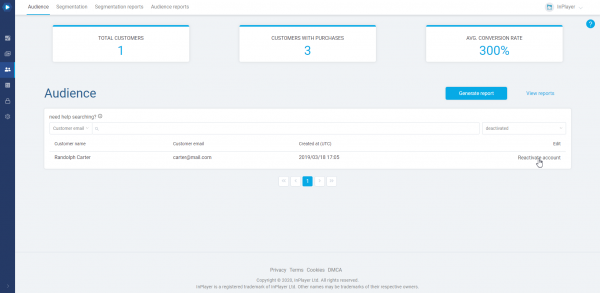
To export the customer’s captured details, should they request us to provide them with all the data our platform has gathered on them, as per the GDPR regulation, click the ![]() button.
button.
The second tab of the Audience section is the Segmentation tab.
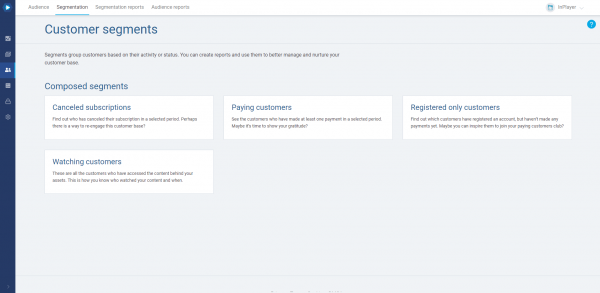
Here, you can create lists (segments) of customers based upon various characteristics. This way of segmenting customers is mainly aimed at providing useful data for reducing churn and increasing retention, thereby eliminating the need for creating reports for this purpose manually.
There are a few segments you can use: Cancelled subscriptions, Paying customers, Registered only customers, and Watching customers.
The Cancelled subscriptions segment provides insight into how many and which customers have cancelled their subscriptions in a given time period.
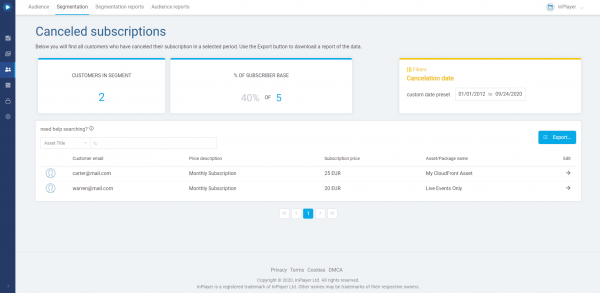
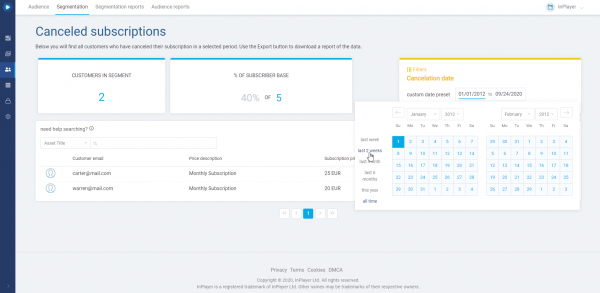
To see a list of customers who have cancelled their subscriptions in a particular time period, just select the period in the filters section.
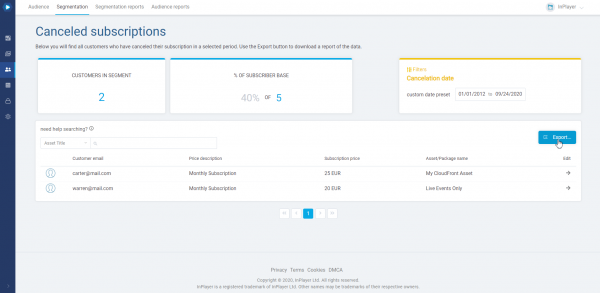
You can also export a list as a CSV file. To do so, click the Export button.
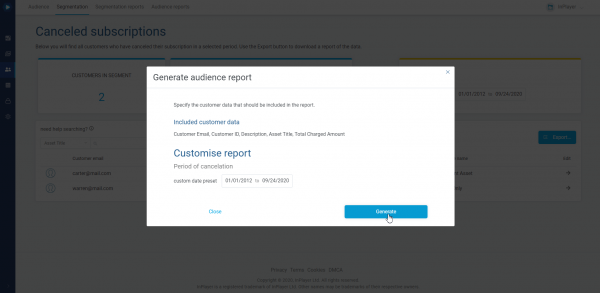
Then, select the period and click Generate.
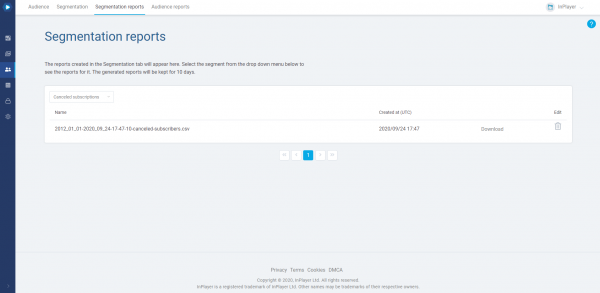
To download the generated report, just go to the Segmentation reports tab, and select the segment from the dropdown menu.
The Paying customers segment provides insight into how many and which customers have made a payment in a given time period.
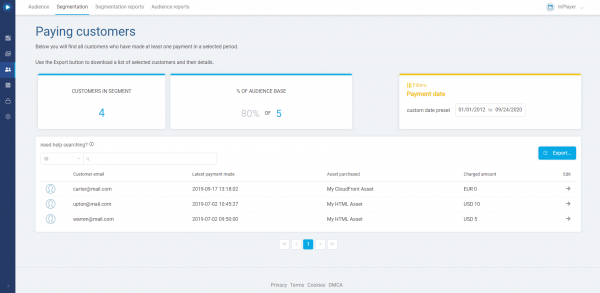
It works exactly the same as the Cancelled subscriptions segment, i.e. you can either view the info by selecting the period in the filters section, or generate a report via the Export button which you can then download in the Segmentation reports tab.
The Registered only customers segment provides insight into how many and which customers have registered an account, but haven’t made a payment yet.
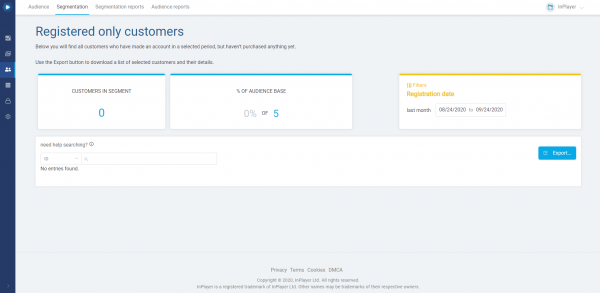
It works exactly the same as the other segments, i.e. you can either view the info by selecting the period in the filters section, or generate a report via the Export button which you can then download in the Segmentation reports tab.
The Watching customers segment provides insight into how many and which customers have accessed a particular asset, in a given time period.
To get the report, just click on Export.
In the new screen, select the time period and in the search field on the right enter the asset ID of the asset for which you wish to get the access info.
Note that when you insert the asset ID in the field, you need to press Enter, and then click on the asset.
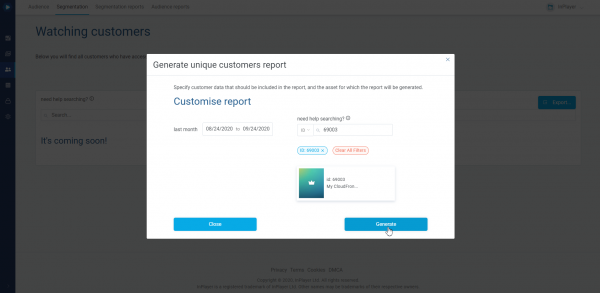
Finally, click Generate.
As mentioned above, the Segmentation reports tab is the final tab of the Audience section and it is where you can download the reports you have generated in the Segmentation tab.
To see the reports for each segment, just select the segment from the drop-down menu.
This concludes our guide.
If you have any questions, don’t hesitate to contact us on support@inplayer.com.

