Access
In the following guide, you will get more familiar with the Access section of the InPlayer Dashboard.
The Access section offers a live overview of all of your customers and their individual access passes.

Here you will find all of your customers’ individual access records, and whether that access was purchased, granted or has expired.
Navigating the Access section
To the right, you have the Generate report and View reports buttons. We’ll see how to use these in the guide to Reporting.
Below that, you have the search bar, along with the option to choose whether to view a list of the active or inactive accesses.
To use the search bar, click on it, choose the filter you wish to use for your search, and type in your search.

So, if you wanted to check the access passes for a customer with the email carter@mail.com, you’d click on the search field, choose the email filter, type in carter@mail.com, and press Enter.
Note that you can also search with just the first part of the email address, in this case carter, or the second part, in this case mail.com.
However, you cannot search by typing any of the two parts of the email address just partially, in this case, cart or mail.
Below that, you have the main part of the Access section, which is the table where you can see the details of the customer accesses.
Here is a list of the various access statues, along with their meaning:
Purchased – The customer received access after making a regular payment.
Granted – The customer was granted access manually via the InPlayer Dashboard.
Acess-voucher – The customer received access after purchasing the content using a Free access voucher.
Expired – The period of access validity set up for that price option has expired.
In the Access section, you can also revoke or extend a customer’s access.
Note that the same thing can be done in each customer’s personal account as well, as described in the customer management section of the Audience section guide.
Revoke access
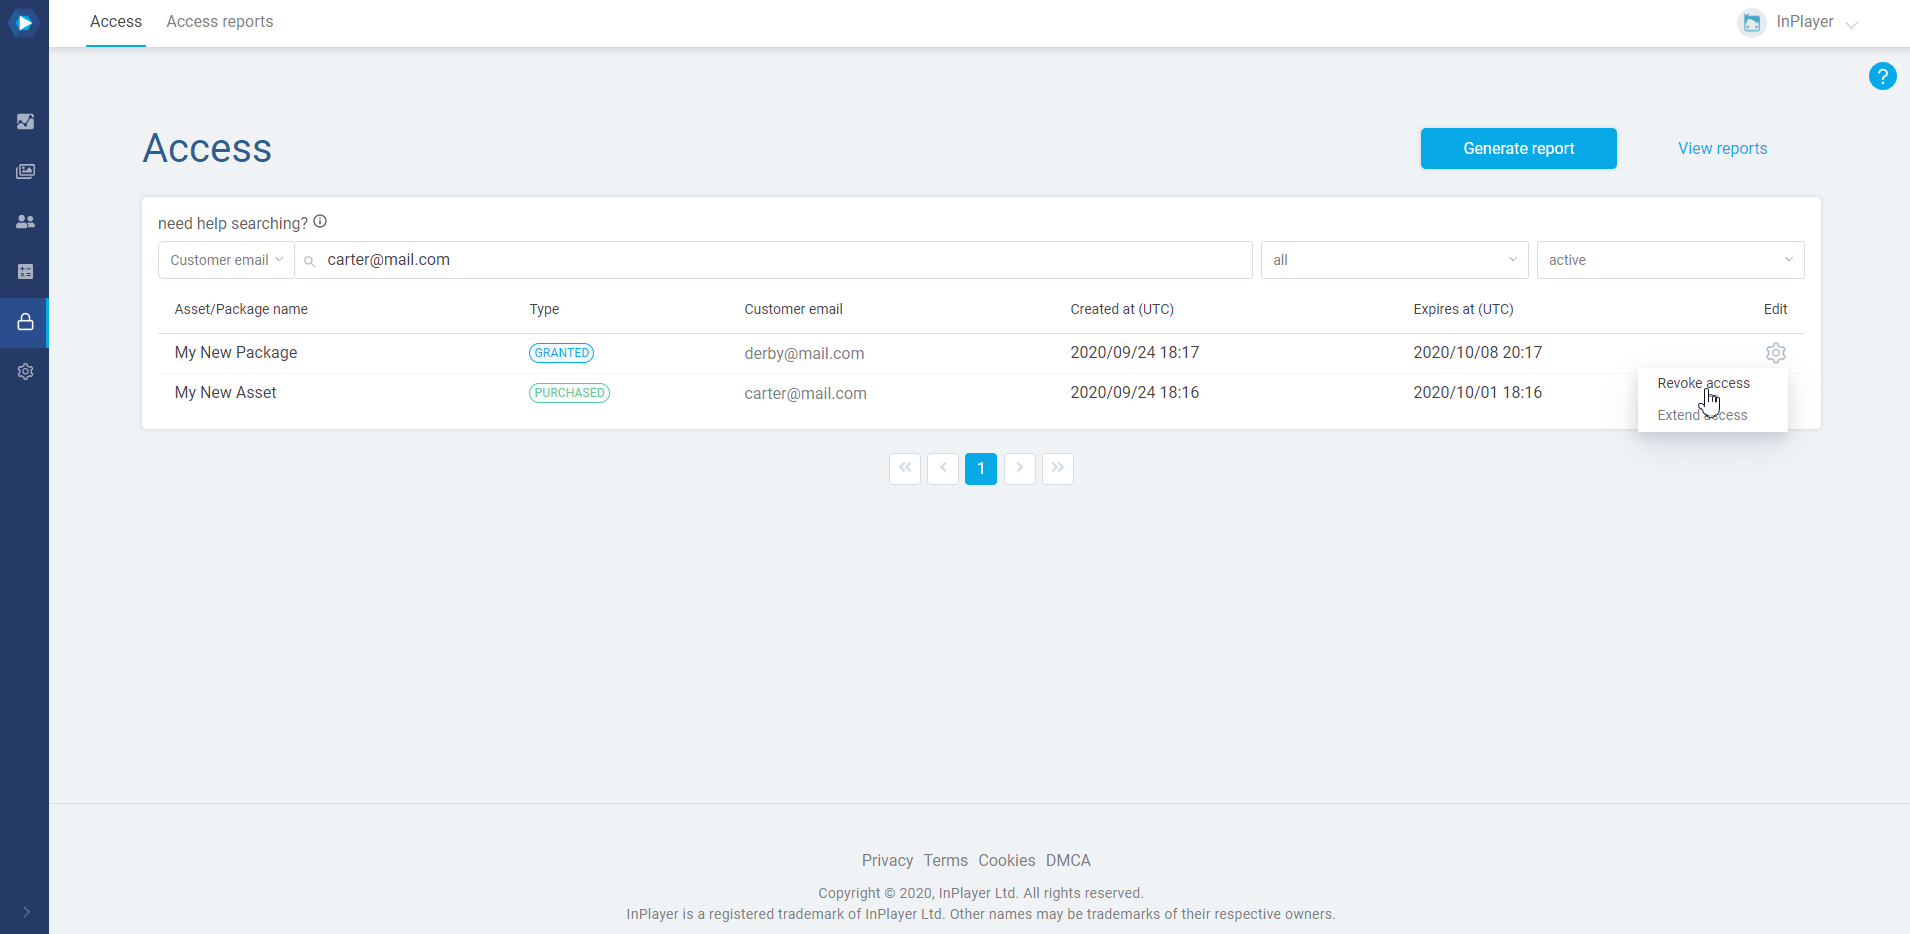
To revoke a customer’s existing access pass, click on the ![]() button under the Edit column in the asset title’s row.
button under the Edit column in the asset title’s row.
Then click Revoke access.
Confirm by clicking Yes, revoke!

Extend access
To extend a customer’s existing access pass, click on the ![]() button under the Edit column in the asset title’s row.
button under the Edit column in the asset title’s row.
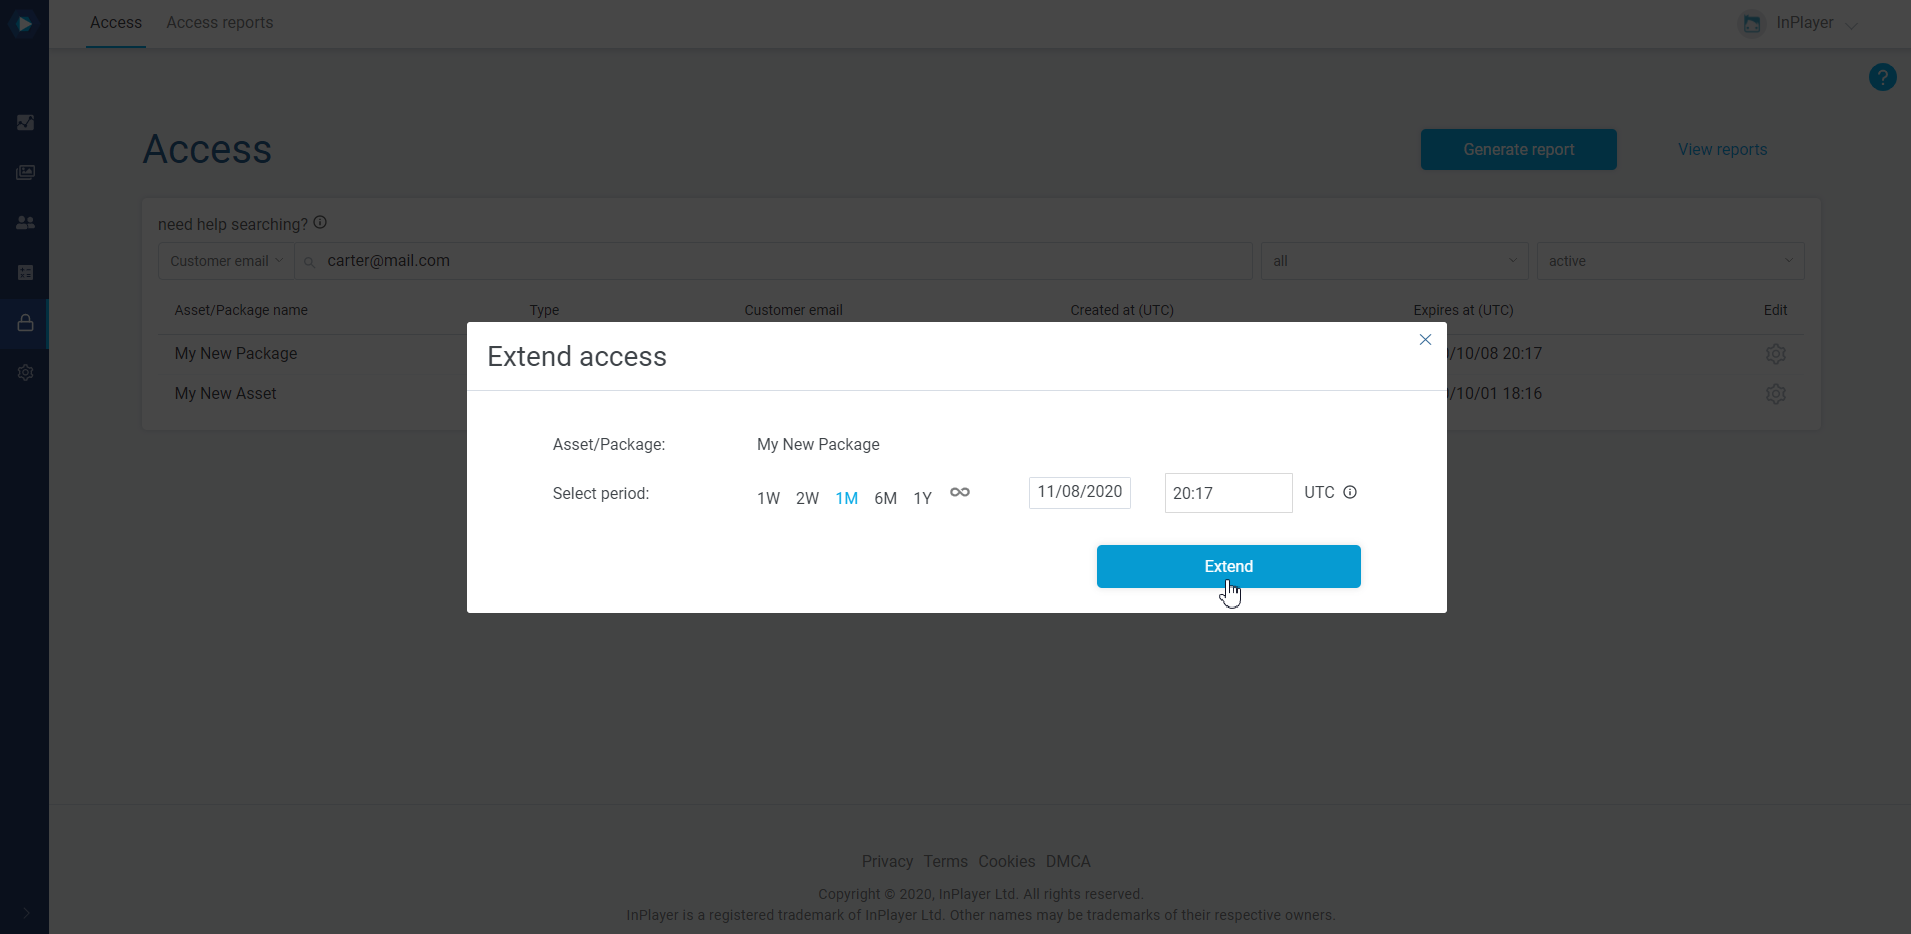
Then click Extend access.

Here, enter the new date to which you’d like to extend the access and click Extend.
This concludes our guide.
If you have any questions, don’t hesitate to contact us on support@inplayer.com.